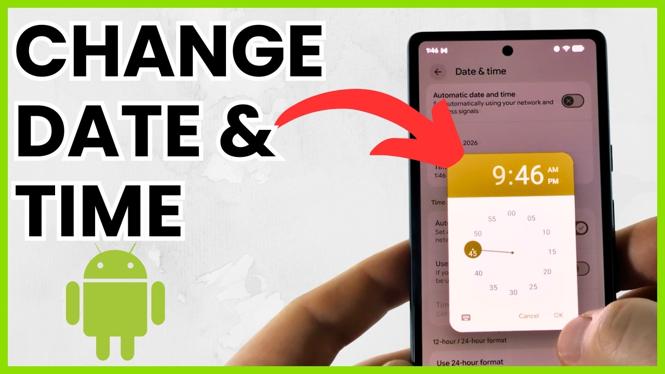
Fix an Incorrect Android Date or Time
If your Android phone shows the wrong date or time, you can either let it update automatically or set it yourself. Automatic date and time uses the internet or your cellular provider to determine the current date and time. Manual settings are useful when you need to choose a specific date or time instead.
The menu names shown here are System, System management, and Date and time. Android settings can differ between phone brands, so look for the date and time controls in your phone’s system settings if the wording is not identical.
Video Tutorial
Set the Date and Time Automatically
Automatic date and time is the best setting for most people. Your phone checks the available network information and keeps its clock updated without you needing to change it. This is especially helpful after a restart, when traveling, or when the clock is incorrect.
- Swipe up from the home screen to open your app list.
- Select Settings.
- Scroll down and select System.
- Scroll down again and open System management.
- Select Date and time.
- Turn on Automatic date and time.
With this setting enabled, the phone uses the internet or your cellular provider to set the date and time. Check the clock at the top of the screen after enabling it. It should update to the current time.
If the automatic clock remains wrong, first make sure your phone has an internet or cellular connection. You can also turn Automatic date and time off and back on to prompt the phone to check the time again.
Change the Date and Time Manually
To choose the date and time yourself, you must first disable the automatic setting. Android does not let you edit these values while it is getting them from the network.
- Open Settings from the app list.
- Select System.
- Open System management.
- Select Date and time.
- Turn off Automatic date and time.
- Select the date setting.
- Choose the date you want to use, then select OK.
- Select the time setting.
- Choose the hour and minute you want to use.
The clock updates as soon as you apply the new value. You can then close the Settings app. The time in your phone’s status area should now match the date and time you selected.
Manual changes affect more than the clock display. Apps can use your phone’s date and time for messages, calendars, reminders, file timestamps, and sign-ins. Set the correct values again when you are finished testing or when you no longer need a custom time.
When to Use Each Setting
Use Automatic date and time when you want Android to keep the clock current for you. It is the practical choice if you regularly move between locations, rely on calendar alerts, or simply want the correct time without maintaining it.
Turn it off only when you need a manually selected date or time. For example, you may be checking how an app behaves on a different day or correcting the clock when automatic time is not available. Once you have set the values, they stay in place until you change them again or re-enable automatic date and time.
Check the Date and Time After Changing It
After making a change, look at the clock on your Android phone to confirm it updated. If you set the date manually, also check that the day and month are correct before closing Settings. A date that is only slightly wrong can cause calendar events and reminders to appear at unexpected times.
If you want Android to take over again later, return to Date and time and switch Automatic date and time back on. Your phone will then use the internet or cellular provider instead of the date and time you entered manually.
More Android Tips & Tutorials:
 Subscribe Now! 🙂

Discover more from Gauging Gadgets
Subscribe to get the latest posts sent to your email.