Create Your Ringtone From a Downloaded Song
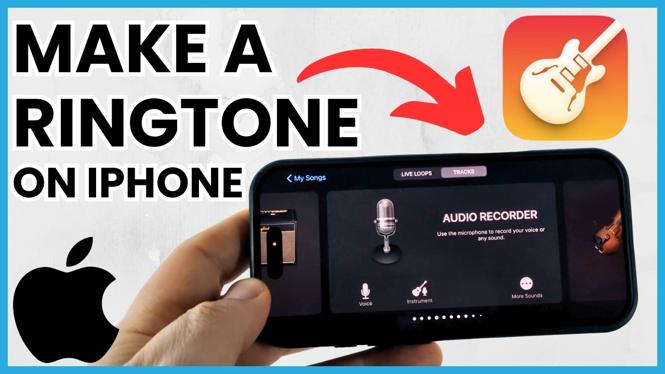
You can make a custom ringtone directly on your iPhone with GarageBand. Start with a music file you have already downloaded to the Files app, then trim the part you want and export it as a ringtone.
Your finished ringtone should be no longer than 30 seconds. You can use it as your standard ringtone, a text tone, or a ringtone for one contact. GarageBand can also be used to create your own beat, but the steps below focus on turning a downloaded song file, including an MP3, into a ringtone.
Video Tutorial
Prepare the Audio File
Make sure the song or audio clip is downloaded on your iPhone before opening GarageBand. You need to be able to locate it through the Files app when GarageBand asks you to browse for a file.
If you need music to use, Pixabay has downloadable music files that you can save to your iPhone. Once the file is downloaded, take a moment to check where it was saved so it is easier to find later.
Choose the section of the song you want before you begin. A ringtone works best when the important part starts quickly, since calls may be answered or sent to voicemail before a long intro finishes.
Import the Song Into GarageBand
- Open GarageBand on your iPhone.
- Select the plus symbol in the top-right corner to create a new song.
- Select Audio Recorder. If you want to make a beat from scratch instead, scroll right and choose an instrument.
- Select the gear icon in the top-right corner.
- Select Metronome and Count In.
- Turn off Count In, then select Done.
- Turn off the Metronome using the control at the top of the screen.
- Select the icon with the white boxes to switch to the track timeline.
- Select the loop icon.
- Select Files, then choose Browse Items from Files app.
- Find the downloaded audio file and give it a moment to load in GarageBand.
- Press and hold the file, then drag it onto the GarageBand timeline.
Trim the Audio to 30 Seconds
Select the audio clip on the timeline. You will see small lines at the beginning and end of the clip. Drag these to remove the parts you do not want.
Keep the final clip at 30 seconds or less. You can use the beginning of the song, a chorus, or another part that is easy to recognize. Tap the playback control to listen to the result while you edit.
If your selected section is longer than 30 seconds, GarageBand can shorten it during export. Trimming it yourself first gives you more control over which part stays in the ringtone.
Export the File as a Ringtone
- Select the down arrow in the top-left corner of GarageBand.
- Select My Songs.
- Locate your project in the list.
- Press and hold the project, then select Share.
- Select Ringtone.
- Enter a name for the ringtone.
- Select Export.
If GarageBand says the ringtone is over 30 seconds, select Continue to cut it down to the allowed length. When the export finishes, select Use Song As.
You can then choose to use the song as your standard ringtone, as a text tone, or for a specific contact. Pick the option you want, and your custom sound is ready to use.
Find Your New Ringtone in Settings
You can change the ringtone again later from your iPhone settings. Open Settings, select Sounds and Haptics, then select Ringtone. Your exported GarageBand ringtone appears in the available ringtone list.
The same idea applies to other custom sound options. Select an option such as a text tone, scroll down the list, and choose the song you exported. This lets you reuse one audio file for different alerts or keep it only for calls.
If you cannot see the ringtone, return to GarageBand and confirm that you shared the project using the Ringtone option rather than another sharing format. Once it has been exported as a ringtone, it will appear in the ringtone choices on your iPhone.
More iPhone Tips & Tutorials:
 Subscribe Now! 🙂

Discover more from Gauging Gadgets
Subscribe to get the latest posts sent to your email.