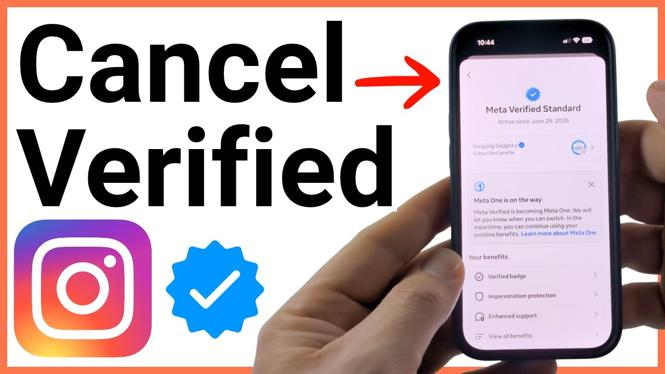
You can cancel Meta Verified from the Instagram app through Accounts Center. The cancellation turns off renewal, so you should not be charged for another billing period. Your badge and other Meta Verified benefits stay active until the end date shown during the cancellation process.
These steps apply if you subscribed through the Instagram app. If you signed up in a web browser on a computer, the cancellation process is different.
Video Tutorial
Cancel Meta Verified in the Instagram app
- Open the Instagram app.
- Go to your profile.
- Select the three-line menu in the top-right corner to open settings.
- Select Accounts Center. It is the first option in the settings area.
- Select Subscriptions.
- Select Meta Verified. This page shows your subscription and its renewal date.
- Scroll to the bottom and select Manage subscription.
- On the Manage Subscription page, scroll to the bottom again and select Cancel subscription.
- Choose a reason for cancelling. You can add written feedback if you want, but it is optional.
- Select Continue to cancel, then select Submit feedback.
- Review the notice explaining that your verified badge will disappear, then select Continue to cancellation at the bottom.
Instagram may show an offer for a free month or a discount before it completes the cancellation. If you do not want to keep the plan, select Continue to cancellation instead of accepting the offer.
Check that the cancellation worked
A pop-up should confirm that your Meta Verified subscription was cancelled. Instagram will also show the date your benefits end. Keep that date handy if you want to confirm how long your blue check and other subscription benefits will remain available.
Cancelling does not usually remove Meta Verified immediately. It stops the next renewal. You can keep using the benefits until the end date provided in the confirmation. After that date, your verified badge disappears.
If you changed your profile picture as part of the identity verification process, you may need to wait until the benefits end before changing it again. You can try updating the photo sooner, but Instagram may not allow the change until the listed end date. Once that date arrives, you should be able to update your profile picture normally.
What to review before you leave the subscription page
Before closing Instagram, check the status and end date shown after you cancel. The most important detail is that the app confirms the subscription was cancelled. Reaching the feedback screen alone does not mean the cancellation is complete. Continue through each confirmation screen until you see the cancellation message.
Also pay attention to the renewal date displayed on the Meta Verified subscription page. If you are close to renewal, completing the cancellation before that date helps prevent another monthly charge. The confirmation screen is the best place to verify that auto-renewal has been turned off.
If you subscribed in a browser
The Instagram app steps in this guide are for a Meta Verified subscription made in the app. If you purchased Meta Verified through a browser, such as on a computer, do not assume the same screens will appear in Instagram. Use the cancellation method for the place where you created that subscription.
For app subscriptions, return to Accounts Center, then Subscriptions, if you need to review the plan again. You should be able to see Meta Verified and its subscription details there.
Quick path to Meta Verified cancellation
The path is: Instagram profile, three-line menu, Accounts Center, Subscriptions, Meta Verified, Manage subscription, then Cancel subscription. Finish the feedback and confirmation prompts, and look for the message that says your Meta Verified subscription was cancelled.
More Instagram Tips & Tutorials:
 Subscribe Now! 🙂


Discover more from Gauging Gadgets
Subscribe to get the latest posts sent to your email.