Start with the power connection
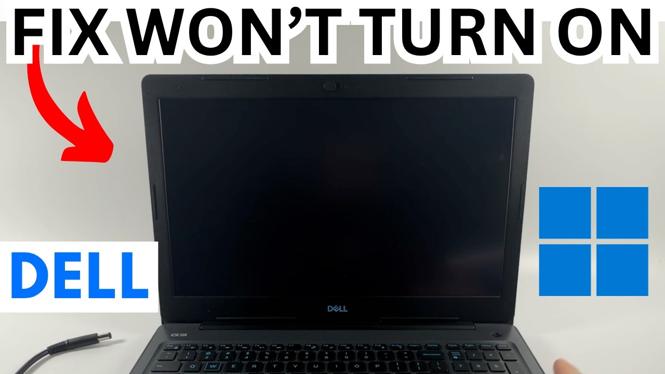
A Dell laptop that will not turn on or charge can sometimes have a battery that is simply too low to start. This can happen after the laptop has been unplugged for a long time. Before trying anything else, connect the charger and leave the laptop alone for 30 minutes to an hour.
After that time, press the power button normally and see if the laptop starts. If it does not, check that the charger connection is secure. If your AC adapter has a removable power cable, make sure that cable is pushed fully into the adapter before you continue.
The steps below apply to the basic no-power and no-charge problem on Dell laptops, including Inspiron, XPS, Latitude, and Vostro models. They do not erase your files or reset Windows.
Video Tutorial
Let the battery charge before forcing a restart
Do not assume the laptop is broken if nothing happens right after you plug it in. A deeply drained battery may need time before the laptop can power on, even while connected to its charger. Leave the charger connected for at least 30 minutes. Waiting up to an hour is a good idea if the computer has been unused for a while.
While it is charging, check the full length of the power connection. Confirm that the charger is connected to the laptop and the power source, and that the removable cable section of the adapter is fully seated. A loose connection can stop the laptop from receiving power.
Perform a Dell laptop hard reset
If charging time did not help, disconnect every cable and accessory from the laptop first. An attached device can interfere with startup in some cases. Remove the power cable before you begin the hard reset.
- Unplug the Dell laptop charger from the computer.
- Disconnect all other accessories. Check both sides of the laptop and the back for HDMI cables, USB devices, mice, keyboards, and other connected items.
- Find the Power button. Depending on your Dell model, it may be above the keyboard, on the side, or built into the keyboard area.
- Press and hold the Power button for 10 to 15 seconds. Keep holding it for the full time.
- Release the button. If the keyboard backlight or another light was on, it may turn off while you hold the button.
- Reconnect only the laptop power cable. Do not reconnect USB devices, HDMI cables, or other accessories yet.
- Check the adapter again and make sure any removable cable connection is fully plugged in.
- Press and hold the Power button for about three to four seconds to start the laptop.
This is a hard reset, not a factory reset. It forces the laptop off and clears residual power. Your personal files, installed programs, and Windows settings are not deleted by this process.
Give the laptop extra time to boot
Your Dell laptop may take longer than usual to start after the hard reset. After pressing the power button, wait a moment instead of repeatedly pressing it. Look for normal signs of startup, such as the display turning on or the keyboard backlight activating.
If the computer starts, let it finish booting, then sign in and use it normally. Keep the charger connected at first so the battery can continue charging. Once the laptop is running as expected, reconnect your other accessories one at a time.
Check what changed after each step
Keeping accessories disconnected during the first startup is useful because it narrows down the problem. If the laptop powers on with only its charger attached, reconnect your HDMI cable, mouse, keyboard, and USB devices gradually. If the issue returns after reconnecting one item, leave that item unplugged.
If the laptop still does not power on after allowing charge time, checking the adapter connection, and completing the hard reset, repeat the connection check carefully. Make sure the charger is the only item connected to the computer during the test. This gives you a clean starting point and avoids confusing an accessory issue with a no-power problem.
What this reset does and does not do
A hard reset is a safe first troubleshooting step for a Dell laptop that will not turn on or charge. It does not reinstall Windows, remove your files, or require you to set up the computer again. The main purpose is to fully power down the laptop, drain remaining power, and attempt a fresh startup with the charger connected correctly.
If the laptop starts after these steps, the immediate power issue has been cleared. If it remains unresponsive, leave it connected to power while you decide on the next troubleshooting or repair step. Avoid repeatedly connecting extra devices until you have confirmed that the laptop can start with its charger alone.
More Windows 11 Tips & Tutorials:
 Subscribe Now! 🙂

Discover more from Gauging Gadgets
Subscribe to get the latest posts sent to your email.