How to Disable Secure Boot in Windows 11 PC & Laptop
Disabling Secure Boot can be a crucial step for users looking to modify their Windows 11 systems. Whether you’re aiming to install alternative operating systems like Linux, utilize unsigned drivers, or implement other advanced changes to your computer, understanding how to turn off Secure Boot is essential. This guide will take you through the process step-by-step, ensuring that even those with limited technical knowledge can follow along with ease.
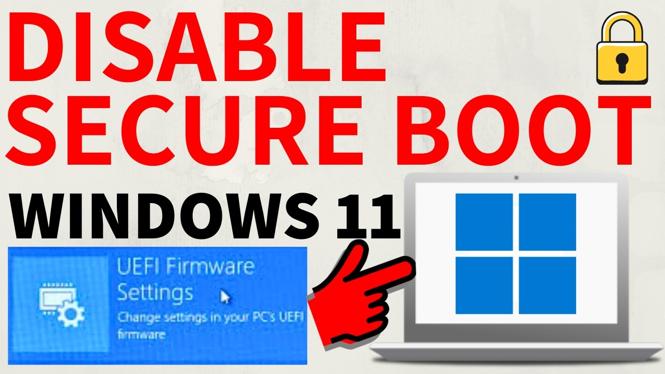
Video Tutorial
Why You Might Be Looking for This Tutorial
Secure Boot is a security feature designed to ensure that your PC boots using only software that is trusted by the PC manufacturer. However, there are situations where you may want to disable this feature:
- Installing Alternative Operating Systems: If you wish to dual-boot your Windows 11 with a different OS, such as Ubuntu or Fedora, disabling Secure Boot is often necessary.
- Using Unsigned Drivers: Some hardware and peripherals may not have signed drivers, which can prevent them from functioning correctly if Secure Boot is enabled.
- Advanced System Modifications: Tech enthusiasts and developers might want to make changes that require Secure Boot to be disabled to access the full capabilities of their machines.
Step-by-Step Guide to Disable Secure Boot
Follow these steps to disable Secure Boot on your Windows 11 PC or laptop:
- Restart Your Computer: Begin by restarting your device.
- Access BIOS/UEFI Settings: During the boot process, press the appropriate key to enter BIOS/UEFI settings. Common keys include F2, F10, Delete, or Esc, depending on your manufacturer.
- Locate Secure Boot Option: Once in the BIOS/UEFI menu, navigate to the ‘Security’ tab or a similar section where you can find the Secure Boot settings.
- Disable Secure Boot: Select the Secure Boot option and change its status to ‘Disabled.’
- Save Changes: After disabling Secure Boot, make sure to save your changes before exiting. This is typically done by pressing F10 or selecting the ‘Save and Exit’ option.
- Reboot Your System: Your computer will now restart, and Secure Boot will be disabled.
Conclusion
Disabling Secure Boot on your Windows 11 PC or laptop is a straightforward process that can unlock new possibilities for your system. By following the steps outlined above, you will be able to customize your device to match your specific needs. Always remember to exercise caution when making significant changes to your BIOS settings, as they can impact your computer’s performance and security.
More Windows 11 Tips & Tutorials:
 Subscribe Now! 🙂
Discover more from Gauging Gadgets
Subscribe to get the latest posts sent to your email.