Convert PDF Pages to PNG or JPEG Files
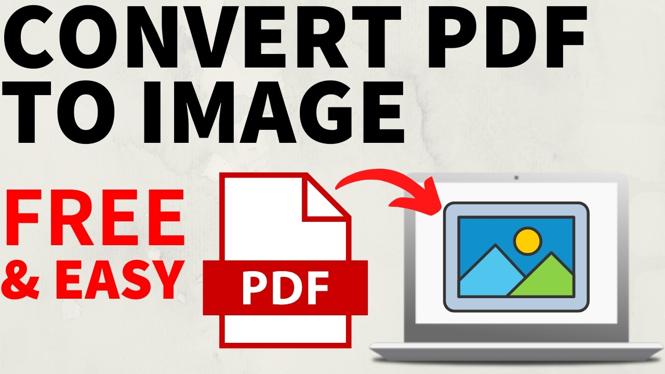
You can convert a PDF into image files when you need to share a page where only photos are accepted. PDFGadget.com lets you turn each selected PDF page into its own PNG, JPEG, or WEB image file. The conversion runs in your browser on your device, so you do not need to upload the PDF to a server.
This is useful for certificates, forms, receipts, or any PDF page you want to send, post, or upload as a standard image. Keep in mind that a multi-page PDF becomes multiple image files. Each page you select is saved separately.
Video Tutorial
Choose the PDF Pages and Image Format
Start at PDFGadget.com. Scroll down until you see the PDF to image tool. You can also open More PDF Tools and select PDF to image.
- Select Drop your PDF here.
- Find and select the PDF file you want to convert.
- Wait for the tool to load a preview of every page in the PDF.
- Choose the image format you want to create. Select PNG if you want a lossless image format, or select JPEG for a common photo format. You can also choose the WEB format shown in the tool.
- Select the PDF pages you want to save as images. Use Select all to convert every page, Unselect all to clear your choices, or select pages individually.
Check your page selection before downloading. For example, if you select five PDF pages, you will receive five separate image files. You will not get one image file that contains all five pages.
Download Your Converted Images
The download option depends on how many pages you selected.
- For one page, select Download next to that page.
- For multiple pages, select Download selected as zip file.
Save the downloaded file to your device. A single-page conversion gives you the image directly. A multi-page conversion downloads a ZIP file that holds the separate PNG, JPEG, or WEB images.
Open a ZIP File After Converting Multiple Pages
If you downloaded more than one converted page, you need to extract the ZIP file before you can use the image files individually. On the desktop shown in the tutorial, find the downloaded ZIP file, right-click it, select Extract All, then select Extract.
Your computer opens the extracted folder when it finishes. Open that folder to see the converted images. You can then open an image, attach it to a message, upload it to a website, or share it like any other image file.
Pick the Right Format Before You Download
PNG and JPEG are both useful, but they serve slightly different needs. Pick the format that matches where you plan to use the converted PDF page.
- PNG: A good choice when you want a clear copy of a document, certificate, graphic, or page with text.
- JPEG: A common image format that works well when a site or app specifically asks for a JPG or JPEG upload.
- WEB: Use this option when the platform you are using supports that image format.
If you are unsure which one to choose, JPEG is a practical option for general sharing, while PNG is often helpful when you want to preserve the look of text and document details. You can always return to the tool and convert the same PDF again in a different format.
What to Check Before Sharing the Image
Open the converted image once before sending it. Make sure you selected the correct PDF page and the page is easy to read. This matters most for documents with small text, signatures, dates, or certificate details.
Also check the folder after extracting a ZIP download. The image names may be based on the original PDF pages, so opening the files is the quickest way to confirm which page is which. Once everything looks right, your PDF content is ready to use as regular image files.
More PDF Tools & Tutorials:
 Subscribe Now! 🙂

Discover more from Gauging Gadgets
Subscribe to get the latest posts sent to your email.