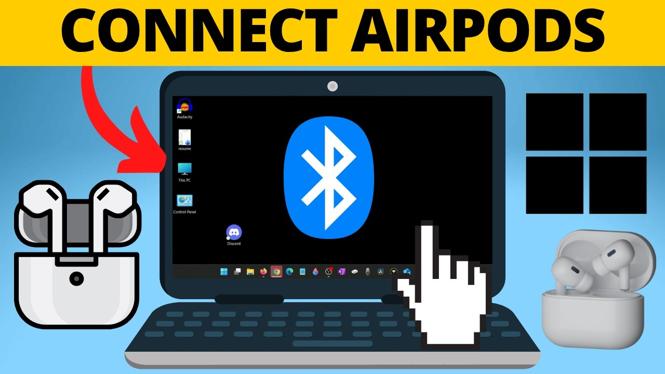
AirPods can connect to a Windows 11 PC or laptop over Bluetooth, including AirPods 4 and AirPods Pro. Once Windows reports that they are connected for mic and audio, you can use them to listen to audio and use the AirPods microphone on your computer.
The main part is putting the AirPods into Bluetooth pairing mode before searching for them in Windows. Keep the AirPods in their charging case while you do this.
Video Tutorial
Put your AirPods in pairing mode
Open the charging case with both AirPods inside. The method depends on the style of AirPods case you have. Do this near your Windows PC so the computer can find the AirPods while they remain in pairing mode.
- Open the AirPods charging case. Leave the AirPods in the case.
- If your case does not have a button, double tap the green light on the case.
- Wait until the light starts blinking white. This means the AirPods are in Bluetooth pairing mode.
- If your AirPods case has a button, open the case and hold down the button while the AirPods are inside.
- Keep holding it until the light blinks white or yellow.
Do not close the case before you finish connecting in Windows. If the AirPods stop blinking or connect to a different device, put them back into pairing mode and try again.
Add AirPods in Windows 11 Bluetooth settings
With the AirPods blinking and ready to pair, open the Bluetooth settings on your Windows 11 computer. You can get there directly from the Start button.
- Right-click the Windows Start button.
- Select Settings.
- Choose Bluetooth & devices.
- Select Add device.
- Choose Bluetooth from the device types.
- Wait for your AirPods to appear in the list.
- Select your AirPods to pair them with the PC or laptop.
Windows will confirm the connection when it is complete. The connection message indicates that the AirPods are connected for both microphone and audio use. You can then take the AirPods out of their case and start using them with your computer.
What to do if your AirPods do not appear
If you do not see your AirPods in the Bluetooth device list, check the pairing mode first. The case light needs to be blinking, which shows that the AirPods are available for a new Bluetooth connection.
Also check that the AirPods have not connected to another device. If they are already connected elsewhere, Windows may not show them as available. Put the AirPods back in the open case and repeat the pairing-mode steps, then return to Add device and choose Bluetooth again.
You may also need to select Show all devices in the device list. This can reveal the AirPods if they do not appear in the first set of results. Once you see the AirPods name, select it and wait for Windows to show that they are connected.
Use AirPods audio and microphone on your PC
After the connection is confirmed, your AirPods are ready for computer audio and microphone use. This lets you listen to music, hear video audio, join calls, and use the AirPods as a headset while gaming.
If the AirPods were paired successfully but are not currently active, put them in the case, open the lid, and take them out again. Windows should show them as connected when they are available. If they do not reconnect, return to Bluetooth & devices and check that the AirPods are still listed there.
The same Windows 11 process works for AirPods and AirPods Pro. The only part that can differ is how you start pairing mode on the charging case. Once the case light is blinking, the Windows steps stay the same.
More Windows 11 Tips & Tutorials:
 Subscribe Now! 🙂

Discover more from Gauging Gadgets
Subscribe to get the latest posts sent to your email.