Enable Camera Access First
If your webcam is not working in a video call, recording app, or meeting app, start with Windows camera permissions. Windows 11 can block camera access for the whole computer, for individual apps, or for desktop apps. You can also check whether Windows sees your built-in camera or external webcam as connected.
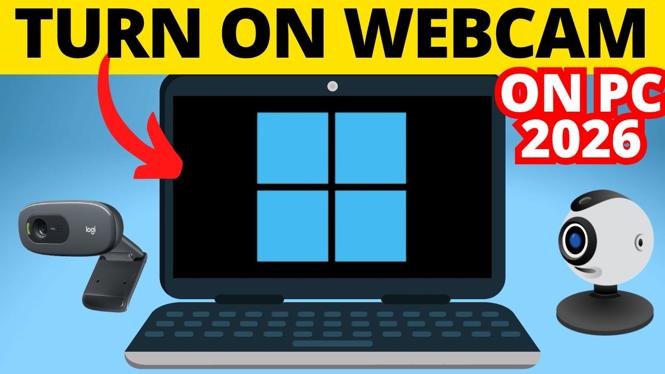
This guide shows how to turn on a webcam in Windows 11, allow the apps you use to access it, and test the camera in the built-in Camera app.
Video Tutorial
Turn On Your Webcam in Windows Settings
Open the Camera privacy page first. This is where you control the main permission that lets Windows and your apps use a connected camera.
- Right-click the Windows icon in the bottom taskbar.
- Select Settings.
- Choose Privacy & security from the left sidebar.
- Scroll to the App permissions section and select Camera.
- Turn on Camera access.
With Camera access enabled, Windows is allowed to use your webcam. If this setting is off, the Camera app and other apps cannot use the camera, even if the webcam is connected correctly.
Allow Apps to Use the Camera
Turning on the main camera setting may not be enough. You also need to make sure the app you want to use has permission. On the same Camera settings page, scroll through the app permission options and enable access for the apps that need your webcam.
For example, if an installed app cannot detect your camera, check its camera permission here. Enable the app if it appears in the list and you want it to use the webcam.
Also find Let desktop apps access your camera and turn it on. This setting is important for desktop applications that need camera access. Windows can also show when desktop apps have accessed your camera, which helps you confirm that an app is actually using it.
If you only need your webcam in one app, you can leave access off for apps you do not use. The key is to enable the main camera access setting, then allow only the apps that need it.
Check That Windows Detects the Webcam
Stay on the Camera settings page and look for Camera device settings. This area shows the cameras Windows can see.
Check the Connected cameras list. Your built-in laptop camera or external PC webcam should appear there when Windows detects it. If you see your camera in this list, select it to view a preview and access the available camera controls.
If your webcam appears under Disabled cameras instead, enable it. A disabled camera cannot be used by the Camera app or by other apps that have permission.
This check is especially useful when you use an external webcam. It confirms that Windows sees the camera itself, rather than only showing an app permission problem. Once the webcam appears as connected and is enabled, move on to a quick test.
Test the Webcam in the Windows Camera App
The Windows Camera app gives you a simple way to test your webcam before joining a call or recording something important. You can use it to confirm that you have a live picture and that the correct camera is selected.
- Select the Windows Start button.
- Type Camera.
- Open the Camera app from the search results.
- Check for a live preview from your webcam.
If you can see a preview, your webcam is on and working in Windows. To record video, select the video option in the Camera app, then start recording.
If the app opens to the wrong camera, use the camera switch control in the app to cycle through the cameras connected to your computer. This is helpful if your laptop has a built-in camera but you also connected a separate USB webcam. Keep switching until the preview shows the camera you want to use.
What to Check When an App Still Cannot Use the Webcam
When the Camera app works but another app does not, the webcam itself is likely enabled. Go back to Settings, Privacy & security, and Camera. Then check the following:
- Camera access is turned on.
- The app you want to use is allowed to access the camera.
- Let desktop apps access your camera is turned on if the affected app is a desktop app.
- Your webcam appears under Connected cameras, not Disabled cameras.
These settings cover the main Windows 11 controls for turning on a laptop camera or external PC webcam. After enabling the required permissions and confirming the correct camera in the Camera app, you can use it for video calls, meetings, and recordings.
More Windows 11 Tips & Tutorials:
 Subscribe Now! 🙂

Discover more from Gauging Gadgets
Subscribe to get the latest posts sent to your email.