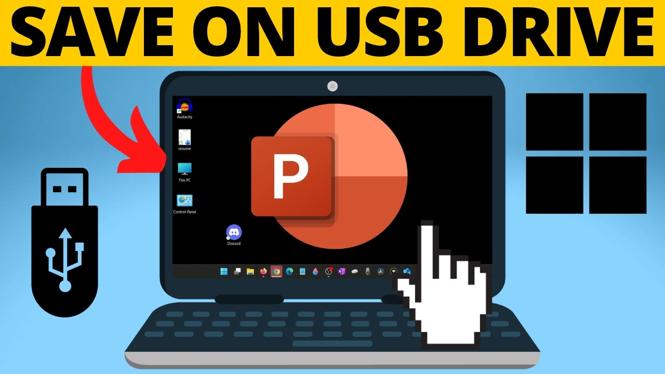
Save a Copy of Your Presentation to the USB Drive
Saving a PowerPoint presentation to a USB flash drive gives you a separate copy you can take to another computer, share with someone else, or keep as a backup. You need to connect the flash drive first, then use PowerPoint’s Save As option to choose that drive as the save location.
These steps save a copy to the USB drive. Your existing presentation remains on your computer unless you later delete it.
Video Tutorial
What You Need Before Saving
Have your USB flash drive available and make sure the PowerPoint presentation is already open on your computer. The flash drive may also be called a thumb drive or memory stick. Plug it into an available USB port on your PC or laptop.
After you connect it, your computer should show a notification that it recognized the USB flash drive. This confirms the drive is available to select when you save the presentation.
How to Save a PowerPoint on a USB Flash Drive
-
Plug the USB flash drive into your computer.
Wait for the notification confirming that the computer has recognized the drive. Leave the drive connected while you save the file.
-
Open the PowerPoint presentation you want to copy.
Make sure you have the correct slideshow open before continuing. If you made changes to the slides, this is also a good time to make sure those changes are ready to save.
-
Select File in the top menu of PowerPoint.
This opens PowerPoint’s file options, including the option to save the presentation in another location.
-
Select Save As.
Use Save As because you want to choose the USB flash drive instead of only saving to the presentation’s current location on your computer.
-
Select Browse.
This opens File Explorer, where you can select the folder or drive that should receive the PowerPoint file.
-
In the left menu, scroll down and select This PC.
Under This PC, find and select USB Drive. The USB drive name can vary, but it is the external drive you just connected.
-
Confirm that the USB drive is selected.
The main File Explorer area should now show the files and folders already stored on the flash drive. This is how you know the PowerPoint copy will be saved to the right place.
-
Set the presentation name, then select Save.
You can keep the current file name or enter a new one. Selecting Save stores the PowerPoint presentation on the USB flash drive.
Check That the File Saved Successfully
It is a good idea to confirm the file is on the drive before you rely on it for a presentation. Open File Explorer, select USB Drive from the left menu, and look through the files shown on the drive.
You should see the PowerPoint presentation you just saved. If you changed the file name during the save process, look for that new name. Seeing the file in the USB drive confirms that the copy was saved to the external drive rather than only to your computer.
Why Use Save As Instead of a Regular Save?
A regular save updates the file where it is currently stored. If your presentation is on your computer, using a regular save does not automatically place a copy on the USB flash drive.
Save As lets you choose a different location. In this case, you select USB Drive in File Explorer. That creates a copy on the flash drive while leaving the original presentation in its existing location.
This is useful when you want one version on your computer and another version that you can carry with you. It also means you can give the USB drive to someone else or connect it to another computer when you need to open the slideshow there.
If You Cannot See the USB Drive
First, check that the USB flash drive is fully connected to the computer. The drive needs to be recognized before it can appear in the Save As window.
Return to Browse if needed, then look in the left menu under This PC again. Once the drive appears, select it and continue with the file name and Save steps.
After saving, always check the contents of USB Drive in File Explorer. This quick verification helps ensure you have the presentation with you before moving to another computer or handing over the flash drive.
More Windows 11 Tips & Tutorials:
 Subscribe Now! 🙂


Discover more from Gauging Gadgets
Subscribe to get the latest posts sent to your email.