Record your screen and webcam in one video
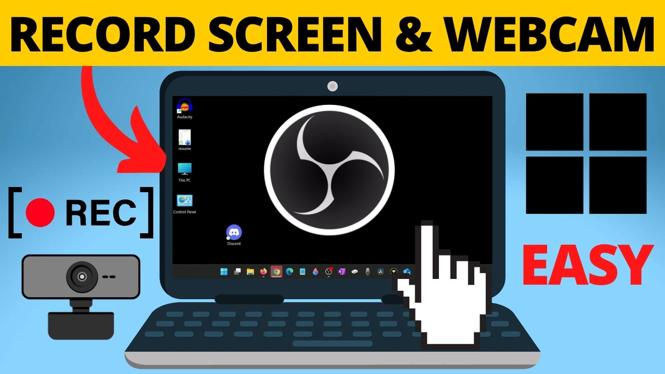
You can record your computer screen and webcam together for free with OBS Studio. OBS combines both sources into one recording, so your face camera appears over the screen capture. This is useful for tutorials, presentations, and videos where viewers need to see both what you are doing and your reaction.
The steps below show the Windows setup from the video. You will add your display first, add the webcam as a second source, position the webcam preview, check your audio, and then start recording.
Video Tutorial
Install OBS Studio from the Microsoft Store
- Select the Windows Start button.
- Type Store, then choose Microsoft Store under Best Match.
- Use the Store search bar to search for OBS.
- Select OBS Studio.
- Select Get or Install, depending on what appears on your screen.
- If Windows asks if you want to allow the app to make changes to your device, select Yes.
- When installation finishes, select Open.
OBS Studio is free and open source. When it opens for the first time, it displays the Auto Configuration Wizard. Select Optimize for Recording, then select Next. Leave the suggested basic canvas resolution if it suits your display, select Next, and choose Apply Settings.
Understand scenes and sources in OBS
At the bottom of the OBS window, you will see Scenes and Sources. A scene is the complete layout you record. Sources are the individual items within that layout, such as your monitor, webcam, microphone, text, or media.
For a basic screen-and-webcam recording, add two sources to the current scene: Display Capture for your screen and Video Capture Device for your webcam.
Add your computer screen
- In the Sources area, select the + button.
- Select Display Capture.
- Select OK.
- Choose the display you want to record.
- Select OK.
Your selected screen should now fill the OBS preview. If you use more than one monitor, make sure you choose the display that contains the app, browser, presentation, or desktop you plan to show. The preview represents the layout that will be saved in your finished video.
Add and position your webcam
- Select the + button in Sources again.
- Select Video Capture Device.
- Select OK.
- Open the Device drop-down menu.
- Select the webcam you want to use.
- Select OK.
Your webcam image will appear in the preview on top of the display capture. Click and drag the webcam image to move it. A bottom corner is a common position because it leaves most of the screen visible. Drag the corners of the webcam image to resize it until it covers as little important screen content as possible.
Before you record, look carefully at the preview. Check that your face is visible, the screen is the correct monitor, and the webcam does not block a button, document, or other detail you need viewers to see.
Check microphone audio
If you need voice audio in the recording, check the Audio Mixer before you begin. Your active audio should show movement on its meter while you speak. OBS can also use an Audio Input Capture source when you need to add a microphone as a source.
Do a short test recording if possible. Speak at your normal volume, stop the recording, and play the file back. This helps you catch a silent or incorrect audio input before recording a longer tutorial or presentation.
Start and stop the recording
- Set your screen and webcam layout in the OBS preview.
- Select Start Recording in the bottom-right corner of OBS.
- Record your screen, webcam, and audio.
- When you are finished, return to OBS and select Stop.
Keep OBS running until you select Stop. Your recording includes the layout shown in the preview, including the display capture and webcam overlay.
Find the saved recording
After stopping, you can locate the video in File Explorer. Open File Explorer, go to Home, and select Videos. Your new recording should be stored there. Open the file to confirm that the screen, webcam, and audio were recorded as expected.
Once this basic scene is working, you can add other source types later, including text, media, and additional audio inputs. For most screen tutorials, though, a display capture, a webcam overlay, and clear microphone audio are all you need.
More OBS Studio Tutorials:
 Subscribe Now! 🙂

Discover more from Gauging Gadgets
Subscribe to get the latest posts sent to your email.