Transfer photos with the Files app
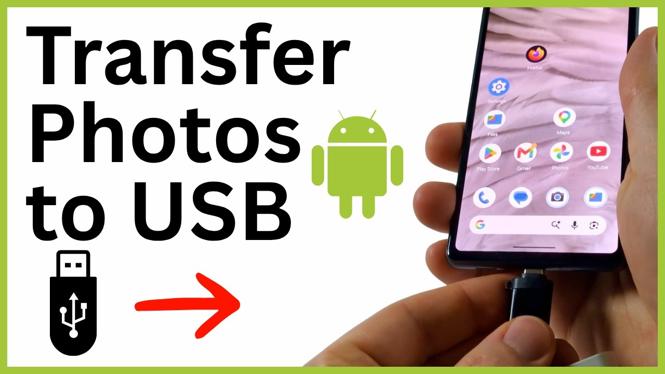
You can transfer Android phone photos to a USB drive directly from your phone. You need a flash drive that connects to your phone, then you can use the built-in Files app to copy pictures to it.
This is useful for making a separate backup before deleting photos from your phone. It also gives you a simple way to take photos to a computer or another device without first uploading them anywhere.
The steps shown here use the Images section in the Files app and the Copy to option. Copying leaves the original photo on your phone. Check the copied files on the USB drive before you remove anything from your Android phone.
Video Tutorial
What you need before you start
First, check the connector on your USB flash drive. A larger rectangular USB connector is a USB Type-A connector. It will not plug straight into the USB-C port on most current Android phones.
For a Type-A flash drive, use an adapter with a USB Type-A port on one side and a USB-C connector on the other. Plug the flash drive into the adapter, then plug the adapter into the bottom of your Android phone.
Some flash drives include a USB-C connector. Those drives can plug directly into a compatible Android phone, so you will not need the adapter. Once the drive is connected, open the Files app. On the main screen, you should see a message that says USB now available near the bottom.
If you do not see the drive right away, return to the main Files screen and scroll down. Under All storage, look for the USB icon and the entry named Flash disk. Selecting it lets you view the files already stored on the drive.
Copy Android photos to the USB drive
- Connect the USB flash drive to your Android phone. Use the USB-C adapter if your drive has a large USB Type-A connector.
- Open the Files app on your phone.
- From the Files app main screen, select Images. This opens the area where you can locate photos stored on the phone.
- Find the photo you want to transfer and select it. You can select the photos you want to copy before continuing.
- Select the three dots menu.
- Choose Copy to.
- Select Flash disk as the destination. This is the USB drive connected to your phone.
- Choose where you want the photos to go on the USB drive. You can copy them to the main folder of the drive, as shown in the video, or select an existing folder if you want to keep files organized.
- Wait for the copy to finish. Larger photos and videos can take longer, so keep the flash drive connected until the process is complete.
Check that the transfer worked
Go back to the Files app main screen after the copy finishes. Under All storage, select the USB icon and then Flash disk. You should see the photo you copied in the folder you selected.
Open or inspect the file on the flash drive before treating it as a backup. This quick check matters because it confirms that the file reached the drive and is available outside your phone.
The Copy to method does not remove the original image from your Android phone. That is helpful when you want a backup, but it does not immediately create free space. If your goal is to clear storage, first confirm that every photo or video you need appears on the flash drive. Only then remove the originals from your phone using the photo or file management method you normally use.
Keep your USB photo backup organized
If you copy photos often, use folders on the flash drive so you can find older backups later. For example, you can separate photos by month, trip, event, or phone backup date. The Files app lets you choose the location on Flash disk when you copy, so you can place each batch in the folder that makes sense for you.
For a larger backup, transfer a small group first and verify it on the drive. Then repeat the same process for the remaining photos and videos. This makes it easier to spot a missing file and reduces the chance of disconnecting the drive while a large transfer is still running.
When you are done, make sure copying has finished before unplugging the flash drive or adapter. Your photos should remain in the selected location on Flash disk, ready to connect to another compatible device.
More Android Tips & Tutorials:
 Subscribe Now! 🙂

Discover more from Gauging Gadgets
Subscribe to get the latest posts sent to your email.