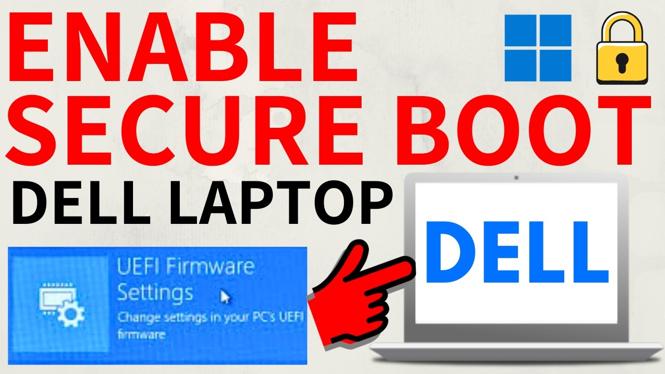
How to Enable Secure Boot on Dell Laptop
In today’s digital age, ensuring the security of your device is more crucial than ever. One of the key features that can bolster your Dell laptop’s security is Secure Boot. If you’re a Dell user looking to enhance your system’s defenses against unauthorized software, you’ve come to the right place. This tutorial will guide you through the process of enabling Secure Boot, no technical experience required. By enabling Secure Boot, you’ll make sure your laptop meets the security requirements for Windows 11 and protect your system from potential threats.
Video Tutorial
Why You Might Be Looking for This Tutorial
As technology continues to evolve, so do the threats to your security. With the introduction of Windows 11, it’s essential to enable certain features, such as Secure Boot, to meet system requirements and protect your data. Users may look for this tutorial for several reasons:
- New Windows 11 Installation: If you’re installing or upgrading to Windows 11, enabling Secure Boot can help ensure compatibility and security.
- Enhanced Security: Secure Boot prevents unauthorized apps and drivers from running at startup, protecting your system from malware and other threats.
- BIOS/UEFI Configuration: Users may wish to familiarize themselves with their BIOS/UEFI settings for better overall management of their laptop.
- General Knowledge: Learning how to manage system settings effectively can empower users to take control of their devices.
Steps to Enable Secure Boot on Your Dell Laptop
Follow these straightforward steps to enable Secure Boot on your Dell laptop:
- Restart Your Laptop: Begin by restarting your Dell laptop.
- Access BIOS/UEFI Settings: When your laptop is booting up, press the F2 key repeatedly until the BIOS/UEFI screen appears. The timing can be tricky; ensure you do this before the Windows logo appears.
- Navigate to the Boot Tab: Use the arrow keys to navigate to the Boot tab.
- Select Secure Boot: Find the Secure Boot option in the list. If it is set to Disabled, use the arrow keys to highlight it and press Enter.
- Enable Secure Boot: Change the option from Disabled to Enabled.
- Save Changes: Navigate to the Exit tab and choose Save Changes and Exit. Confirm any prompts that appear to finalize the changes.
- Restart Your Laptop: Your laptop will now restart with Secure Boot enabled. You are all set!
By following these steps, you can ensure that your Dell laptop is equipped with Secure Boot, providing an additional layer of security against unauthorized access and malware interference. Regularly check your BIOS settings to maintain optimal security as updates may change configurations.
Conclusion
Enabling Secure Boot on your Dell laptop is a critical step in safeguarding your system. With the easy-to-follow steps outlined in this tutorial, you can fortify your device against potential security threats. Keep your system updated and regularly review your security settings for maximum protection.
More Windows 11 Tips & Tutorials:
 Subscribe Now! 🙂
Discover more from Gauging Gadgets
Subscribe to get the latest posts sent to your email.