Erase your iPhone before handing it over
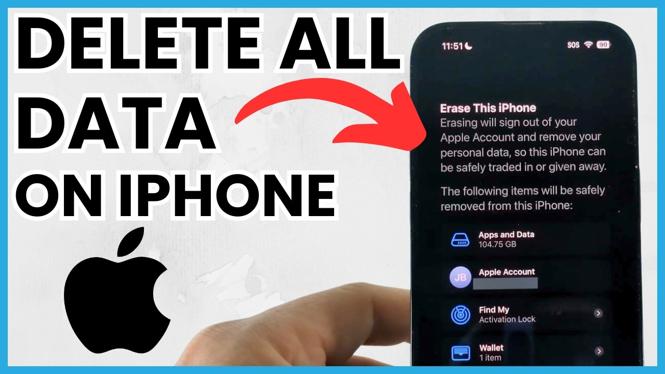
Use Erase All Content and Settings to delete all data on your iPhone before selling it, trading it in, or giving it away. This process removes your apps, photos, messages, accounts, Apple Wallet information, and other personal data from the device. It also turns off Find My and removes Activation Lock after you enter your Apple ID password.
Do this only when you are ready to stop using the iPhone. Once the reset finishes, the phone returns to the setup screen that appears when you first get an iPhone. The next owner can then set it up with their own account.
Video Tutorial
Before you erase all content and settings
Check that you have anything you want to keep before starting the reset. The erase process removes everything stored on the iPhone, including pictures, apps, messages, and account information. If you need a copy of your data, allow the iPhone to complete the backup option shown during the process.
You will also need two pieces of information to finish the reset:
- Your iPhone passcode.
- Your Apple ID password. This is required to turn off Find My and Activation Lock.
Keep the iPhone charged, or connect it to power, while it resets. The process can take some time, and you do not want the phone to run out of power before it is complete.
How to delete all data on iPhone before selling
- Open the Settings app on your iPhone.
- Scroll down and select General.
- Scroll to the bottom of the General screen and select Transfer or Reset iPhone.
- Select Erase All Content and Settings.
- Review the information on screen. It explains that the iPhone will remove apps and data, Apple ID accounts, and the Find My location sharing connection from the device.
- Select Continue.
- Review the reminder that your content, including your pictures, will be erased. Select Erase when you are ready.
- Enter your iPhone passcode.
- If the iPhone offers to perform a quick backup, let it finish if you want to save your data first. You can also skip this option.
- Enter your Apple ID password. This turns off Find My and Activation Lock for the iPhone.
- Scroll down and select Turn Off.
- Confirm the factory reset if the iPhone asks one more time.
What happens after you enter your Apple ID password
Your iPhone starts the factory reset after you confirm the final prompt. Leave it alone while it erases your data and restarts. Connecting it to a charger is a good idea if the battery is low.
When the reset is done, the iPhone turns back on and shows the initial setup experience. This is the same type of setup screen you saw when the phone was new. At that point, your personal data has been removed from the iPhone, and it is ready for its next owner.
Do not continue through setup with your own Apple ID after the reset if you are selling or giving away the device. Leave the iPhone at the setup screen so the buyer, trade-in service, or recipient can set it up themselves.
Why you need to turn off Find My
Erasing the phone is important, but removing Find My and Activation Lock is also part of preparing an iPhone for a new owner. During the erase process, entering your Apple ID password lets you select Turn Off. That removes the lock tied to your account.
If you skip this part, the iPhone may still be connected to your Apple ID and not ready for someone else to use. Follow every prompt in the erase flow, including the Apple ID password prompt, before handing the phone over.
Check the iPhone before you sell or give it away
After the reset and restart, look for the initial setup screen. Seeing that screen confirms the iPhone has been returned to its factory state. Your apps, photos, messages, Apple ID account, Apple Wallet information, and other data should no longer appear on the device.
You can now safely sell, trade in, or give away the iPhone. The new owner will start from the setup screen and add their own information instead of seeing yours.
More iPhone Tips & Tutorials:
 Subscribe Now! 🙂

Discover more from Gauging Gadgets
Subscribe to get the latest posts sent to your email.