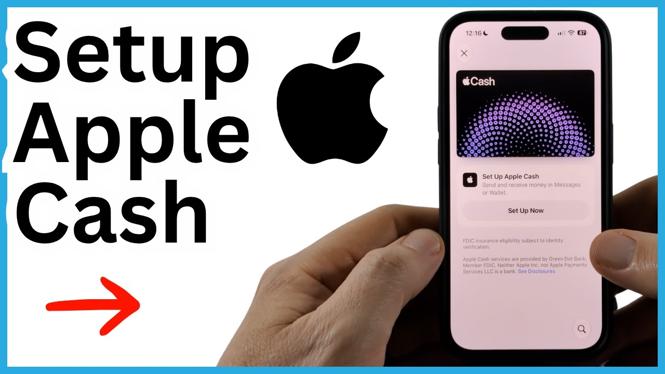
Set up Apple Cash from the Wallet app
Apple Cash setup starts in the Wallet app on your iPhone. Once the account is ready, you will see an Apple Cash balance in Wallet. You can also add money from a debit card after setup is complete.
Before you begin, make sure you meet the requirements shown during setup. You must be 18 or older, have two-factor authentication enabled for your Apple ID, and be in a place where Apple Cash is available. You will also need your iPhone passcode, home address, date of birth, full Social Security number, and a driver’s license or other photo ID for identity verification.
Video Tutorial
Turn on Apple Cash on your iPhone
Open Wallet first. If you do not see it on a Home Screen, swipe left through your Home Screens to reach the App Library. Select the search field at the top, type Wallet, then open the app.
- In the Wallet app, find and select Cash.
- Select Set Up Now.
- Review the information on the next screen, then select Continue.
- Enter your iPhone passcode when prompted.
- Read the Apple Cash terms and conditions.
- Agree to the terms and conditions to continue.
Your iPhone will begin setting up Apple Cash. Do not close the setup screens while the process is running. The next part verifies your identity, which is required before the Apple Cash account can be completed.
Verify your identity
Select Continue when Apple Cash asks you to verify your identity. Enter your home address first. You will then enter your full Social Security number and date of birth.
Apple Cash will also ask you to verify the information with a driver’s license or photo ID. Follow the on-screen prompts to take a photo of the front of your ID, then take a photo of the back. Use a clear, well-lit area so the text and image on the ID are visible.
After you submit the requested information and ID photos, Apple Cash continues the setup process. Wait for the confirmation that Apple Cash has been set up, then select Done.
You should now return to your Apple Cash account in Wallet. If you have not added any money yet, the balance will show as zero. That is normal. Your account is set up, but it does not have funds available until money is added.
Add money to Apple Cash with a debit card
You can add money after the Apple Cash account is ready. In Wallet, open your Apple Cash account and select the three dots in the top-right corner. This opens the account options.
- Select Add Money.
- Enter the amount you want to add. The minimum amount shown is $10.
- Select the checkmark to confirm the amount.
- Enter a billing address if your iPhone requests one.
- When you are ready, select Double Click to Pay to add the money from your debit card.
After the payment is processed, return to the Apple Cash account screen and check the balance. The amount you added should appear there. This is the balance you can use with Apple Cash, including for purchases in the App Store or payments to other people.
What to check if setup does not finish
Start by checking the requirements. Apple Cash setup depends on your age, Apple ID security settings, and availability in your location. If you cannot continue, confirm that two-factor authentication is turned on for the Apple ID signed in on the iPhone.
Also review the personal information you entered. Your home address, date of birth, and Social Security number need to match your identity information. If the ID verification step does not work, retake the front and back photos of your driver’s license or photo ID. Keep the ID fully in frame and make sure the image is not blurry.
If the account is set up but adding money stops, check the amount and any requested billing address before selecting Double Click to Pay. Once the debit card payment goes through and the balance updates, your Apple Cash setup is complete.
More iPhone Tips & Tutorials:
 Subscribe Now! 🙂

Discover more from Gauging Gadgets
Subscribe to get the latest posts sent to your email.