Resize a photo without cutting anything off
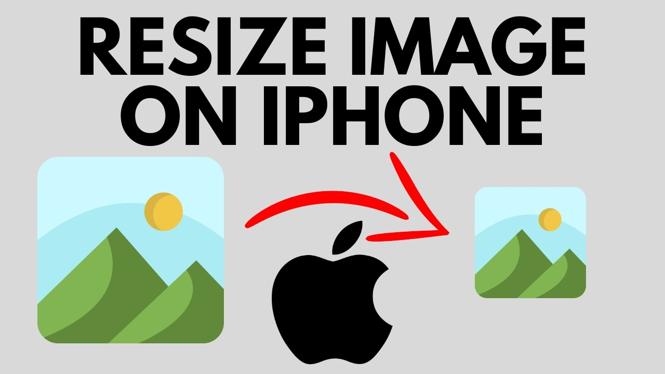
The iPhone Photos app can crop an image, but it does not provide a way to resize a picture without cropping it. Cropping removes parts of the frame. Resizing changes the image dimensions instead, so the complete photo stays intact.
You can use ConvertResize.com in your iPhone browser to make the image smaller. The tool works directly in the browser, so you do not need to upload your photo to a server. This is useful when a photo is too large to send, takes up more storage than you want, or needs smaller dimensions for a specific purpose.
Video Tutorial
Resize an image on iPhone without cropping
- Open a browser on your iPhone and go to ConvertResize.com.
- Find the image resizing tool. You can type resize in the site search bar, then select Image Resizer. You can also scroll to the Image Editing section and select Image Resizer.
- Select the upload box in the Image Resizer.
- Choose where your image is stored. You can select a photo from your photo library, take a new photo, or choose a file.
- If you are resizing an existing iPhone picture, choose your photo library. Find the image you want, select it, then tap Done.
- Check the current image information shown by the tool. It displays the current dimensions and the file size before you make changes.
- Choose how much smaller you want the image to be. You can enter pixel dimensions manually, use a percentage preset, or set a maximum width.
- Select your output format. For example, you can choose PNG.
- Tap Resize and Download to create the resized copy.
- Choose how to save it. Download the resized image as a file, or select View, long press the image, and save it to your Photos library.
Choose the right resize option
The resize setting you choose depends on why you need a smaller image. A percentage preset is the quickest option when you just want to reduce the size for sharing. For example, selecting 25% makes the image dimensions one quarter of the original dimensions. The file size should also drop, which can make the photo easier to send.
Manual pixel controls are more useful when a website, form, or project gives you a specific image size. Lower the pixel values to reduce the image while keeping the full picture visible. The important difference is that resizing scales the entire image. It does not trim the top, bottom, or sides like cropping does.
A maximum-width setting is helpful when you need the image to fit within a width limit but do not want to calculate dimensions yourself. The tool adjusts the image size based on that limit rather than forcing you to crop the photo into a different shape.
Check the resized copy before sharing
After you create the new image, compare it with the original. The entire frame should still be present. What changes is the resolution and, usually, the file size. A smaller image can load faster and send more easily, but reducing it too far may make details appear less sharp.
Keep the original photo in your library. Saving the resized result creates a separate copy, so you can use the smaller version for sharing while retaining the full-size original. This is especially helpful if you may need the original later for printing, editing, or sending at higher quality.
If the resized image is still too large, repeat the process with a lower percentage, smaller pixel values, or a lower maximum width. If it looks too soft or lacks detail, start again from the original photo and choose a larger result. Working from the original prevents quality from dropping further each time you resize.
Resizing versus cropping on iPhone
Use cropping when you want to remove an unwanted object, change the composition, or fit an image into a different frame shape. Use resizing when you want to preserve every part of the photo but need smaller dimensions or a smaller file.
For a quick size reduction, a preset such as 50% or 25% is often enough. For an exact requirement, use the pixel fields or maximum-width option. In each case, ConvertResize.com creates a resized version without cutting off any original image content.
More iPhone Tips & Tutorials:
 Subscribe Now! 🙂

Discover more from Gauging Gadgets
Subscribe to get the latest posts sent to your email.