Cancel Netflix From Your Phone
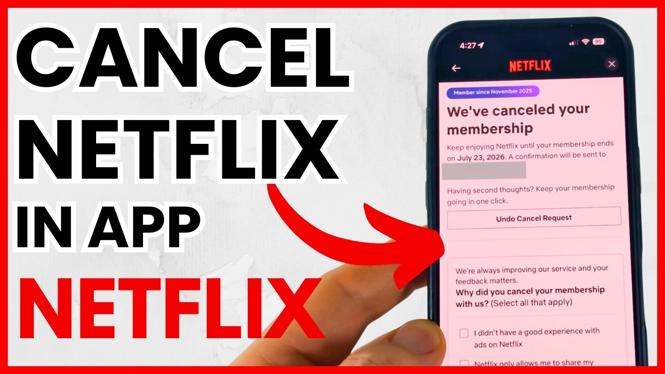
You cannot cancel a Netflix membership from the Netflix app on an iPhone, Android phone, Samsung Galaxy phone, or TV. You need to use a web browser and sign in at Netflix.com instead. The cancellation controls are in your Netflix account settings, not in the app.
Once you complete the cancellation, Netflix shows the date your access ends. You can keep watching until that date, then your membership will end and you will no longer be charged for the plan.
Video Tutorial
Cancel Your Netflix Membership
Have your Netflix sign-in details ready before you start. You can do this from the browser on your iPhone, Android device, or Samsung phone. The steps are the same because you are using the Netflix website rather than the mobile app.
-
Open a web browser on your phone and go to Netflix.com.
-
Sign in to the Netflix account that has the membership you want to cancel. Make sure you use the account that is currently being billed.
-
Look in the top-right corner of the Netflix website for your profile image.
-
Select the dropdown next to your profile image, then choose Account.
-
On the account page, select Manage Membership.
-
Scroll down through the membership details until you find Cancel Membership.
-
Select Cancel Membership to begin ending the plan.
-
Netflix may show alternatives before the final confirmation. If you want to fully stop the membership, select Cancel, then select Finish Cancellation on the final screen.
After you finish the cancellation, you can close the browser. Your account page will show the last date you can use Netflix. That is the final day you will have access to the service.
Do Not Choose Pause or Change Plan by Mistake
Netflix can offer a few options when you select cancellation. One option is to pause your membership for three months. Another option is to change to a different plan. These options do not fully cancel the membership.
If your goal is to stop Netflix billing, continue through the cancellation screens and finish the cancellation. Check the final status and end date on the account page before leaving the site. This helps you confirm that you completed the full process instead of choosing a temporary pause or a plan change.
Why the Netflix App Does Not Show a Cancel Button
The Netflix app is useful for watching shows and managing playback, but it does not include the membership cancellation process shown here. The same applies to the Netflix app on a TV. If you search through the app and cannot find a cancellation button, switch to a browser and use Netflix.com.
On a Samsung device, this does not require a special Samsung setting. Open Netflix.com in a browser, sign in, and go to the account menu. On iPhone and other Android phones, use the same account steps.
Check Your End Date After Cancelling
Cancellation does not remove your Netflix access immediately. Netflix displays a date after you finish the process. You can watch Netflix until that date, which is the end of your current access period.
If you see an end date, your cancellation is complete. Save that date if you want to know how long you can keep streaming. You do not need to keep the browser open after checking it.
If You Cannot Find the Account Menu
First, confirm that you are signed in on Netflix.com. The profile image and the Account option appear after you sign in. If you are already signed in but do not see the expected membership details, verify that you are using the Netflix account connected to your current subscription.
Then return to the profile dropdown in the top-right corner, choose Account, and select Manage Membership. From there, scroll down to Cancel Membership. Completing the final confirmation is the important part, since selecting the first cancel option alone may only bring you to Netflix’s alternatives screen.
More Netflix tips & tutorials:
 Subscribe Now! 🙂

Discover more from Gauging Gadgets
Subscribe to get the latest posts sent to your email.