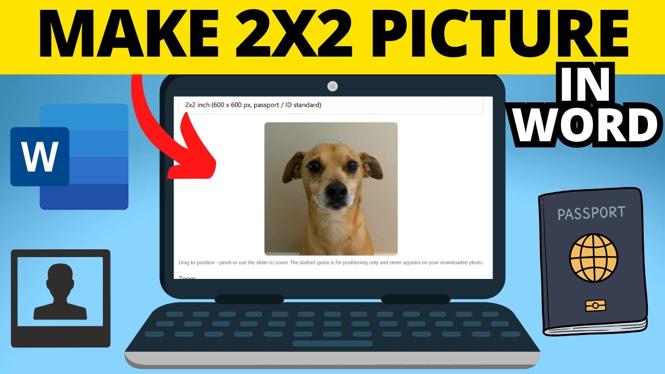
Make the photo square before setting its size
A 2×2 picture needs two things: a square crop and a final size of 2 inches wide by 2 inches high. In Microsoft Word, you can do both from the Picture Format tab after you insert the image. This is useful for passport-style photos, ID pictures, or any print that requires a 2-by-2-inch image.
Start with the original photo rather than resizing it first. Word lets you choose what part of the photo stays visible in the square, so you can center the face or subject before you set the exact dimensions.
Video Tutorial
Insert the photo into Microsoft Word
- Open Microsoft Word and open the document where you want to create the picture.
- Select Insert from the top menu.
- Find Pictures and select its drop-down arrow.
- Choose This Device.
- Find the image file on your computer, select it, and import it into Word.
The photo appears on the page. If the page view makes it difficult to work with the image, zoom out so you can see the photo and its edges clearly. Select the image once to reveal the image tools in the top menu.
Crop the image to a 1:1 square
You need to crop the photo to a square before setting it to 2 inches by 2 inches. If you only change the height and width of a non-square photo, the subject can look stretched or squeezed.
- With the image selected, choose Picture Format from the top menu.
- On the right side, select the drop-down arrow under Crop.
- Select Aspect Ratio.
- Choose 1:1.
The crop area is now square. This does not have to mean that the photo is ready yet. You still need to decide which part of the original image belongs inside that square.
Center the face or subject in the crop
While the crop controls are active, reposition the photo until the important part of the image is in the square. For a passport-style or ID-style photo, keep the face centered and make sure it takes up an appropriate portion of the frame.
- Move the image inside the crop area to place the face or subject in the center.
- Drag the crop control downward to make the visible image area larger when needed.
- Check the square frame before you finish. Make sure the subject is not cut off at the top, bottom, or sides.
This step affects the final composition, not the 2×2 measurement. Take a moment to get the framing right now. Once the image has the correct crop, you can set its printed size exactly.
Set the photo to 2 inches by 2 inches
- Go back to the Picture Format tab while the image is selected.
- On the right side of the tab, locate the two size number fields near Crop.
- Select the first number field and enter 2.
- Select the second number field and enter 2.
- Select a blank area of the page to view the finished image.
Your picture is now 2 inches wide and 2 inches high. Because you used the 1:1 aspect ratio first, the photo remains square instead of becoming distorted. Selecting away from the image is a quick way to confirm that the crop controls are gone and only the completed 2×2 photo remains on the page.
Save the 2×2 image as a picture file
If you only need the image in your Word document, you can leave it on the page. If you need a separate 2×2 file to upload or use elsewhere, save the resized picture directly from Word.
- Right-click the finished 2×2 photo.
- Select Save as Picture.
- Choose where you want to save the image, then save it.
You now have a separate 2×2 image file in addition to the version in your Word document. This gives you a photo that you can keep for later use or upload where a 2-by-2-inch picture is required.
Check the finished 2×2 picture
Before printing or saving, confirm three details: the crop is square, the subject is positioned correctly, and both size fields are set to 2. The square crop handles the shape, while the two size values control the physical dimensions. Keeping those steps separate makes it easier to create a clean 2×2 picture in Word without using photo editing software.
More Microsoft Word Tips & Tutorials:
 Subscribe Now! 🙂

Discover more from Gauging Gadgets
Subscribe to get the latest posts sent to your email.