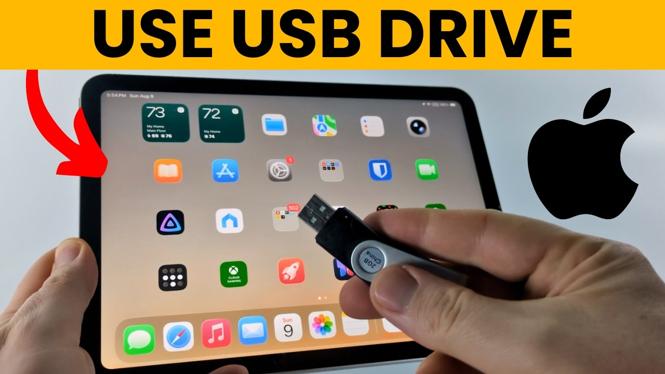
You can use a USB drive on iPad through the Files app. The main thing is matching the connector on your flash drive to the port on your iPad. Once the drive is connected, it appears as a storage location in Files, where you can open files or move them onto your iPad.
This is useful when you need to transfer documents, photos, or other files without using a computer or cloud storage. The process only takes a few steps after you have the right adapter.
Video Tutorial
Check the USB drive connector first
Start by looking at the plug on your USB flash drive. Many flash drives use a rectangular USB Type-A connector. This is the larger, traditional USB plug found on many computers.
If your drive has a USB Type-A connector, you need a USB Type-A to USB Type-C adapter to connect it to your iPad. The Type-A end accepts the flash drive, and the Type-C end plugs into the iPad.
Have the adapter ready before you start. Without the correct connection between the drive and iPad, the Files app cannot show the drive or its contents.
Connect the USB drive to your iPad
- Plug your USB flash drive into the USB Type-A side of the adapter.
- Plug the USB Type-C end of the adapter into your iPad.
- Wait a moment for the iPad to recognize the connected drive.
Keep the drive connected while you access or transfer files. You should not need to install a separate app to view the drive. Your iPad uses the built-in Files app for this.
Open the USB drive in the Files app
After connecting the drive, go to your iPad Home Screen and scroll to the right until you reach the App Library. Type Files into the search field, then open the Files app.
In the left-side menu, look for the small drive icon. It appears above Recently Deleted. Select that drive icon to open your USB drive.
You are now viewing the files stored on the USB drive. You can select a file to open it on your iPad. This lets you check the contents of the drive before deciding which items you want to transfer.
Move files from the USB drive to your iPad
To transfer an item from the drive, long press the file you want to move. A menu appears with more actions for that file.
- Long press the file on the USB drive.
- Select Move.
- Select the location where you want to place the file on your iPad, or choose another available location.
The file is then moved from the USB drive to the location you selected. Repeat these steps for each document, photo, or other file you want to move.
If you only need to view a file, open it directly from the USB drive instead. Moving it is only necessary when you want a copy available in a location on your iPad.
Use the drive as a Files location
The drive icon in Files is your shortcut back to the connected USB drive. Whenever the flash drive is connected, select that icon to browse its contents. The files shown there are the files currently stored on the USB drive.
If you do not see the drive icon, check that the flash drive is fully inserted into the adapter and that the adapter is fully connected to your iPad. Also confirm that you are using the correct adapter for the connector on the USB drive.
Once the drive appears in Files, you can open its files and use Move to put selected items on your iPad. That gives you a simple way to manage files between your USB drive and tablet without needing a computer.
More iPad Tips & Tutorials:
 Subscribe Now! 🙂

Discover more from Gauging Gadgets
Subscribe to get the latest posts sent to your email.