Use Quick Start to move your data directly
Apple’s built-in Quick Start feature can transfer your apps, photos, messages, contacts, settings, and Home Screen layout from an old iPhone to a new one. The direct iPhone-to-iPhone option takes longer than restoring from an iCloud backup, but it is a good choice when you want to copy data straight from the old device.
Before you begin, charge both iPhones and make sure you can unlock the old iPhone. Keep both devices nearby throughout the transfer. You will also need the old iPhone’s passcode during setup.
Video Tutorial
Start setting up the new iPhone
- Turn on the new iPhone by holding its power button.
- Swipe up when the first setup screen appears.
- Select your language and region.
- Review the appearance option, then select Continue. Your existing appearance setting can transfer from the old iPhone later in the process.
- Wait for the Quickly Set Up iPhone screen to appear on the new iPhone.
Do not erase, reset, or trade in the old iPhone yet. It needs to remain available until the transfer finishes and you have checked the new device.
Connect the old and new iPhones
- Unlock your old iPhone.
- Hold it near the new iPhone.
- When the old iPhone displays Set Up New iPhone, select Continue.
- A moving pattern will appear on the new iPhone. Use the old iPhone to capture that pattern.
- On the old iPhone, confirm Set Up for Me.
- Enter the passcode from your old iPhone on the new iPhone when prompted.
The two iPhones will begin connecting and the new iPhone will continue its setup. Keep them close together while this happens.
Choose direct iPhone transfer
During setup, your carrier may transfer your SIM card automatically. This depends on the carrier. If it does not transfer, you may be able to scan a QR code, or you can set up cellular service later.
If you see the Data & Privacy screen, review the information and select Continue. You will also be asked about Face ID. Face ID does not transfer to the new iPhone for security reasons, so set it up again now or choose to do it later.
You will then see two ways to get your data:
- Download from an iCloud backup.
- Transfer directly from the old iPhone.
Select Transfer from iPhone to copy your data directly between the devices. The phones will sign you in and ask you to agree to terms and conditions.
Match settings and handle payment cards
The new iPhone will ask if you want to bring over your iPhone settings. Review the choices if you want to change anything, or choose to match the old iPhone’s settings. You can also turn on Location Services. This is useful if you use Find My.
Payment cards do not simply move over with the rest of your data. If you have cards on the old iPhone, you must confirm them again with your bank. You may need the security code from the back of each card. If you do not want to do that during setup, select Add This Card Later.
Continue through the remaining information screens. The iPhone will then start the transfer.
Keep both phones charging until it finishes
Transfer time depends on how much data is stored on the old iPhone. A phone with lots of photos, videos, messages, and apps can take a while. Place both iPhones next to each other and connect them to power so neither device runs out of battery.
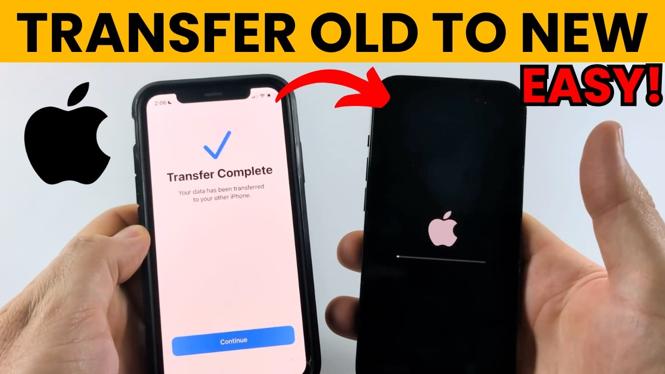
Wait until the old iPhone displays Transfer Complete, then select Continue. The old iPhone may offer to erase itself. Only do this after you have confirmed that your new iPhone contains the data you need. Select Not Now if you want to keep the old phone available while you check the transfer.
Check the new iPhone after the restore
After the new iPhone restarts, it should display Restore Complete. Your Home Screen should look like the old one, including the app layout and transferred settings. Messages, contacts, photos, and other data should also begin appearing.
Your apps may not all be ready immediately. They still need time to download and install on the new iPhone, even after the main transfer has completed. Keep the new iPhone connected to power and give it time before assuming an app is missing.
Once you have checked your important apps, photos, messages, cellular service, and payment cards, you can decide what to do with the old iPhone. If you plan to sell or trade it in, erase it only after confirming that the new iPhone is working as expected.
More iPhone Tips & Tutorials:
 Subscribe Now! 🙂

Discover more from Gauging Gadgets
Subscribe to get the latest posts sent to your email.