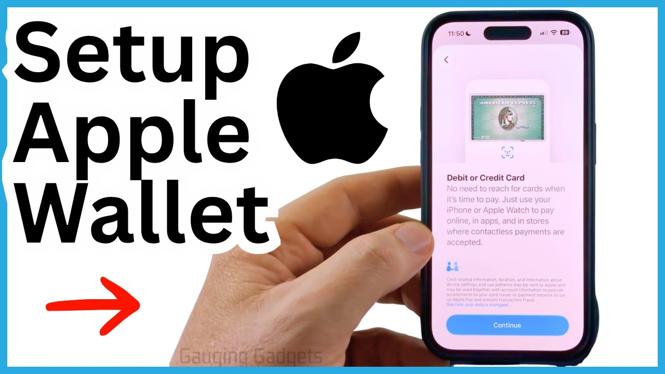
To set up Apple Pay on your iPhone, add a debit or credit card to the Wallet app and complete the verification requested by your bank. Once the card is approved, you can bring up Wallet by double-clicking the power button and use your iPhone for contactless payments.
You need Face ID enabled on your iPhone before adding a card using the process shown here. You also need your physical card or its details nearby, since your bank may ask you to confirm the card during setup.
Video Tutorial
Open Apple Wallet
Apple Pay uses the Wallet app on your iPhone. If you do not see it on a Home Screen, you can find it through the App Library.
- Swipe from right to left through your Home Screens until you reach the App Library.
- Type Wallet in the search field.
- Select Wallet when it appears, then open the app.
Wallet is where your payment cards are stored for Apple Pay. You can return to this app later to view the card you added or add another card.
Add a Debit or Credit Card
With Wallet open, use the add button to start adding a payment method. The setup screen lets you add either a debit card or a credit card.
- Select the plus symbol at the top of Wallet.
- Choose Debit or Credit Card.
- Select Continue.
- Choose how you want to provide the card information.
You have two options during this part of setup. You can hold your credit or debit card next to your iPhone to add it, or you can enter the card details manually. Using the physical card can save time, but manual entry is available if the card is not recognized or you prefer to type the information yourself.
Follow the prompts that appear after you provide the card details. The exact screens can differ by card and bank. Some cards may show terms and conditions that you need to accept before Apple Pay can finish adding the card.
Verify Your Card With Your Bank
Adding the card information is not always the final step. Your bank may require verification before it allows the card to be used with Apple Pay.
For example, the bank can send a text message to your phone. When that happens, get the verification code from the message and enter it when Wallet asks for it. Continue following the on-screen instructions until the card is added to Wallet.
This verification step confirms that you are authorized to add the card. Do not skip it or close Wallet while you still have a bank verification screen waiting for a code or confirmation. Apple Pay will be ready only after the card setup and verification are complete.
Use Apple Pay From Your iPhone
After your card is in Wallet, Apple Pay shows a quick introduction to using it. The fastest way to open your payment cards when you are ready to pay is to double-click the power button quickly.
- Double-click the power button quickly to bring up Wallet.
- Make sure the card you want to use is shown.
- Hold your iPhone under the payment machine.
- Wait for the payment machine to accept the payment.
This is useful at a store checkout, such as a grocery store, when the payment terminal accepts contactless payments. Apple Pay can also be used for supported payments in apps and online after your card is set up.
If Setup Does Not Finish
First, check that Face ID is enabled, since it is required for the setup shown in this guide. Then reopen Wallet and try the add-card process again from the plus symbol.
If the card is added but remains at a verification step, carefully read the on-screen instructions from your bank. You may need to agree to terms, receive a text message, or enter a verification code. The request can vary based on the card, so use the verification method Wallet presents for that specific card.
Keep the card information available until Wallet confirms the card has been added. Once it appears in your Wallet, double-click the power button to check that you can bring up Apple Pay before you need to use it at a payment terminal.
More iPhone Tips & Tutorials:
 Subscribe Now! 🙂

Discover more from Gauging Gadgets
Subscribe to get the latest posts sent to your email.