Adding your Google account to your iPhone lets the built-in Apple apps use your Google email, contacts, calendars, and notes. You sign in once in Settings, choose what you want to sync, and your Gmail account appears in the Mail app.
The steps below use the iPhone Settings search feature to get to the right account screen quickly. This is useful if you do not want to scroll through the full Settings app to find Mail.
Video Tutorial
Add your Google account in iPhone Settings
Have your Google account email address and password ready before you start. If Google asks for an extra verification step during sign-in, complete it in the browser window that opens on your iPhone.
- Open the Settings app on your iPhone.
- Use the search bar in Settings and type Mail.
- Select Mail when it appears under Apps.
- Select Mail Accounts.
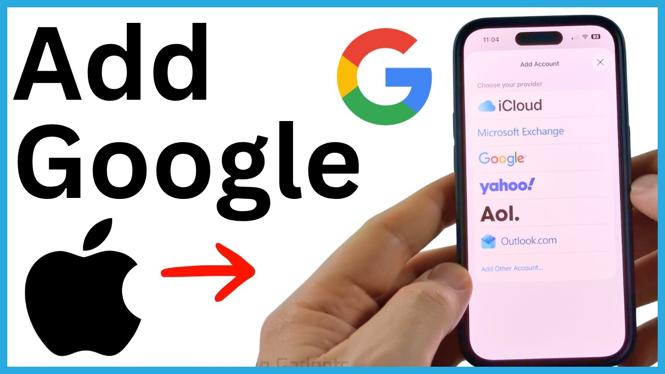
- Tap Add Account.
- Choose Google from the list of account providers.
- Select Open Browser when your iPhone asks to open the Google sign-in page.
- Sign in with the Google account you want to add. Enter your Gmail address or other Google account email, then enter your password and complete any prompts from Google.
- After the sign-in finishes, review the list of items available to sync with your iPhone.
- Turn on the switches for the information you want to use on your iPhone, then tap Save.
Your Google account is now added. When you return to Mail Accounts, you should see the account listed as Gmail.
Choose what your iPhone syncs
The screen that appears after you sign in controls which parts of your Google account connect to your iPhone. Turn on only the items you want available in Apple’s built-in apps.
For example, leave Mail enabled if you want to read and send messages from your Google account in the Mail app. Turn on contacts if you want Google contacts to appear on the iPhone. Enable calendars to have Google calendar information sync to the Calendar app. You can also enable notes if you want to use that option with the Notes app.
You do not have to enable every switch. If you only need Gmail on your iPhone, enable Mail and leave the other options off. If you change your mind later, go back to Settings, search for Mail, open Mail Accounts, and select the Gmail account. You can then adjust the available sync switches and save your changes.
Check your Gmail in the Mail app
Once Mail is enabled for the account, open the Mail app to check that your messages are available. If you cannot immediately find Mail on your Home Screen, swipe from right to left through your Home Screen pages until you reach the App Library.
- Go to the App Library.
- Type Mail in the search field.
- Open the Mail app.
- Look for your Gmail account and its mailboxes in the app.
Your Google email should now be accessible alongside any other email accounts already configured in Mail. New mail will sync through the account you added, so you do not need to sign in separately each time you open the app.
Where the rest of your Google information appears
Mail is only one part of the setup. The other items you enabled during the final sign-in screen sync to their related apps on your iPhone. Contacts sync to your contacts, calendar information syncs to Calendar, and notes sync to the Notes app when those options are turned on.
If an item is missing, first check the account’s sync options. Open Settings, search for Mail, select Mail Accounts, and open Gmail. Make sure the switch for the type of information you need is enabled. Then open the matching iPhone app and allow time for the account information to appear.
This setup keeps your Google account connected through your iPhone settings while letting you decide which information is shared with the built-in apps.
More iPhone Tips & Tutorials:
 Subscribe Now! 🙂

Discover more from Gauging Gadgets
Subscribe to get the latest posts sent to your email.