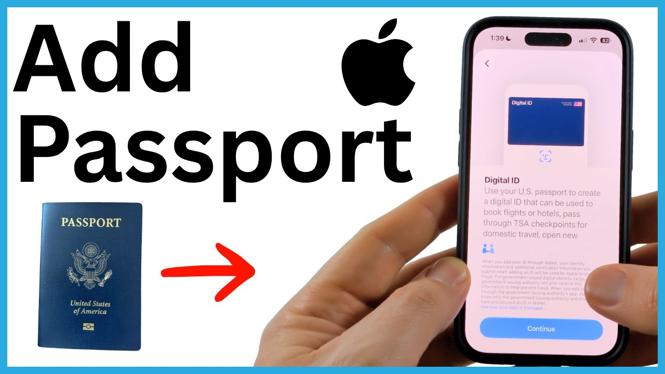
You can add a U.S. passport to your iPhone as a Digital ID in Apple Wallet. The setup uses your passport photo page, the passport chip, and a face verification check. After it is added, you can present the Digital ID at supported TSA checkpoints and in supported apps.
Before you start, make sure Face ID is set up and enabled for unlocking your iPhone. You also need your physical U.S. passport with you during setup. A Digital ID can be used for eligible domestic identity checks, but it does not replace a passport for international travel.
Video Tutorial
Check that Face ID is enabled
Apple Wallet requires Face ID for this passport setup. Check this first so you do not get stopped partway through adding your Digital ID.
- Open the Settings app on your iPhone.
- Scroll down and select Face ID & Passcode.
- Enter your iPhone passcode when prompted.
- Confirm that Face ID has been set up.
- Make sure iPhone Unlock is enabled under the Face ID options.
If Face ID is not configured yet, complete that setup before returning to Wallet. Your phone uses Face ID to protect the Digital ID and confirm that you are the person adding it.
Add your passport in Apple Wallet
Once Face ID is ready, open Wallet and start the ID setup. You can find Wallet from the App Library if it is not on your Home Screen.
- From a Home Screen, swipe from right to left until you reach the App Library.
- Search for and open Wallet.
- Select the + symbol at the top of the screen.
- Choose Driver’s License and ID Cards.
- Select Digital ID at the top.
- Read the information on screen, then select Continue.
Wallet will explain that your iPhone can scan a U.S. passport to create a Digital ID. This ID is intended for supported identity checks, including supported TSA use for domestic travel. It is not an international travel document.
Scan the passport photo page and chip
Have your passport open to the page with your photo, name, and other personal details. This is the page Wallet needs to capture.
- Place the passport photo page where your iPhone can clearly see it.
- Keep the page inside the scan area shown in Wallet.
- Hold the phone steady while it captures the passport details.
- Follow the prompt to read the passport chip with your iPhone.
Good lighting helps the scan complete without errors. Avoid glare on the passport page, shadows over your photo, or covering any text with your fingers. If Wallet asks you to reposition the phone, follow the on-screen framing guide rather than trying to force the scan.
The chip-reading step helps Wallet verify the passport information. Keep your passport and iPhone close together while the phone reads it, then wait for Wallet to move to the identity verification stage.
Complete the identity verification
After the passport scan, Wallet may ask you to take a selfie and complete face movements. These checks compare your live face to the passport information and help verify your identity.
- Position your face within the on-screen frame.
- Take the requested selfie.
- Complete any head movements shown on screen.
- Wait while Wallet finishes processing the Digital ID.
Use a well-lit spot for the selfie. Remove anything that blocks your face if the phone cannot verify you. Follow each prompt exactly, since the verification can require more than one check before the ID is added.
Find and use your Digital ID
When setup finishes, return to the main Wallet screen. You should see a card labeled Digital ID with your name on it.
At a supported TSA checkpoint or in a supported app, open Wallet and select your Digital ID. Follow the instructions from the checkpoint, app, or identity reader. Availability depends on the location and service, so not every TSA checkpoint, airline, hotel, or app will accept a Digital ID.
Your Digital ID can help with supported domestic identity checks, but it cannot be used to travel internationally. Bring the travel and identification documents required for your trip, especially when you are leaving the United States.
If the passport will not add
Start with the basics. Confirm that you are using a U.S. passport, Face ID is enabled for iPhone Unlock, and you selected Digital ID from Driver’s License and ID Cards in Wallet. Then try the passport scan again in brighter, even lighting.
Keep the photo page flat and fully visible in the scan area. If the chip read or face check does not complete, follow the Wallet prompts and retry with the passport and iPhone positioned as requested. Once the verification succeeds, the Digital ID appears in Wallet with your other cards.
More iPhone Tips & Tutorials:
 Subscribe Now! 🙂

Discover more from Gauging Gadgets
Subscribe to get the latest posts sent to your email.