Start With a Full Power Reset
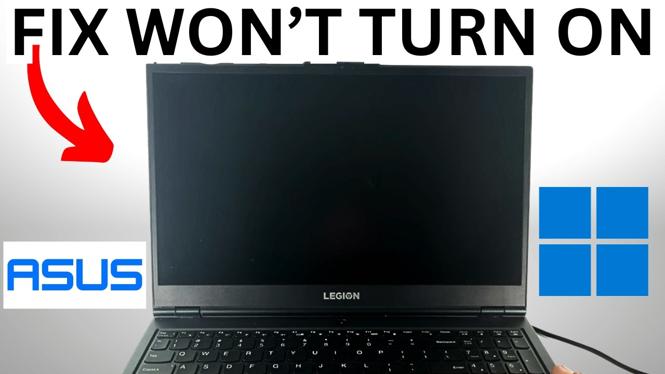
If your ASUS laptop will not turn on, will not charge, or only shows a black screen, start by disconnecting everything attached to it. The first fix is a hard reset. This forces the laptop to reboot and does not delete your files.
This is useful when the laptop appears unresponsive after being connected to a charger, USB device, HDMI cable, or another accessory. Remove those connections first, then reset the power state before trying to start the laptop again.
Video Tutorial
Unplug Every Connected Device
Disconnect the ASUS laptop from all power and accessories. Do not leave the charger connected while you perform the hard reset.
- Unplug the laptop charger from the laptop.
- Remove any USB devices connected to either side of the laptop.
- Disconnect any HDMI cable.
- Unplug any other cable or accessory attached to the laptop.
The goal is to leave the laptop completely disconnected. This gives the hard reset the best chance to clear the issue that is preventing the laptop from powering on or charging normally.
Perform the ASUS Laptop Hard Reset
With every cable removed, find the laptop’s power button. You will hold it much longer than you would for a normal startup.
- Press and hold the Power button for around 15 seconds.
- Keep holding the button for the full 15 seconds, even if the laptop flashes or appears to turn on.
- Release the Power button after 15 seconds.
This hard reset does not erase files from your computer. It simply forces the laptop to reboot. If the screen was black or the laptop did not respond to a normal press of the power button, this is the first reset to try.
Do not press the button repeatedly during this process. Hold it continuously, then release it once the 15 seconds have passed.
Reconnect the Charger Correctly
After completing the hard reset, reconnect the charger. Check the full charger assembly as you do this. Some ASUS chargers have a cable that plugs into a power brick, then a separate cable from the brick to the laptop.
- Plug the charger back into the ASUS laptop.
- If your charger has a power brick, make sure the plug going into the brick is fully connected.
- Make sure the charger connection is secure and receiving power.
A loose connection at the power brick can make it seem like the laptop is not charging, even when the laptop-side connector looks properly attached. Check both ends of the charger setup before trying to turn the laptop back on.
Turn the Laptop On Again
Once the charger is connected, use a normal, short press of the power button.
- Press and hold the Power button for two to three seconds.
- Release the button and wait for the laptop to respond.
- Give the ASUS laptop five to ten seconds to begin booting after the hard reset.
The startup may take a little longer immediately after the reset. Wait briefly before assuming the reset did not work. If the laptop starts, you can continue to the sign-in screen and use it normally.
Quick Checklist for an ASUS Laptop With No Power
Use this order when your ASUS laptop will not turn on or charge:
- Disconnect the charger, HDMI cable, USB devices, and all other accessories.
- Hold the Power button for around 15 seconds.
- Reconnect the charger and check each charger connection, including the power brick if your charger has one.
- Press the Power button normally for two to three seconds.
- Wait five to ten seconds for the laptop to begin booting.
This process covers the basic reset and charger checks for an ASUS laptop that has no power, is not charging, or stays on a black screen. The important part is to remove every connected item before the hard reset, then reconnect the charger carefully before attempting a normal startup.
More Windows 11 Tips & Tutorials:
 Subscribe Now! 🙂

Discover more from Gauging Gadgets
Subscribe to get the latest posts sent to your email.