How to Use USB Flash Drive on Chromebook
Learning how to use a USB flash drive on your Chromebook can unlock a world of possibilities for managing your files. Whether you’re a student looking to transfer class assignments, a professional needing to move documents, or just someone who wants to securely back up memories, understanding how to interface with external storage devices is essential. In this tutorial, we will guide you through the simple steps of plugging in, opening, transferring, copying, and safely ejecting files from a USB flash drive using the built-in Files app on your Chromebook.
Video Tutorial
Why You Might Be Looking for This Tutorial
USB flash drives are a popular method of transferring and backing up files due to their portability and ease of use. You might be seeking this tutorial if:
- You have important files to transfer between different devices.
- You need a quick way to back up your photos or documents.
- You want to free up space on your Chromebook.
- You are new to Chromebooks and need a straightforward guide to using hardware peripherals.
Step-by-Step Guide to Using a USB Flash Drive on Chromebook
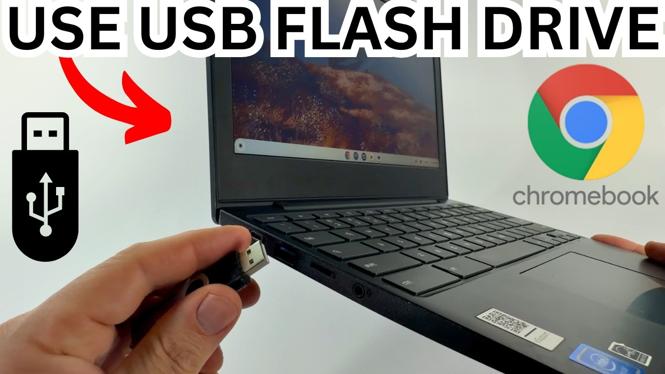
Step 1: Insert Your USB Flash Drive
Begin by locating a USB port on your Chromebook. Take your USB flash drive and carefully insert it into the port. You should see a notification indicating that your drive has been detected.
Step 2: Open the Files App
Once your USB drive is plugged in, open the Files app. You can find it in your app launcher by clicking the circle icon in the bottom-left corner of the screen and searching for “Files.”
Step 3: Access Your USB Drive
In the Files app, you will see a list of locations on the left-side panel, including your USB flash drive. Click on the USB drive to access its contents.
Step 4: Transferring Files
You can now transfer files between your Chromebook and your USB drive. To do this, simply drag and drop files from one location to the other. Alternatively, you can right-click on the file and select the “Copy” option, then navigate to the destination and right-click to “Paste.”
Step 5: Safely Eject the USB Drive
After you have finished transferring files, it’s important to safely eject the USB drive to avoid any data loss. In the Files app, find your USB drive in the left panel, click the three dots next to it, and select “Eject.” Wait for a notification confirming that it is safe to remove the drive before unplugging it from the Chromebook.
Conclusion
Using a USB flash drive on a Chromebook is a simple and effective way to manage your files. Following these straightforward steps, even those with minimal technical experience can successfully transfer and backup their documents. Feel free to refer back to this guide whenever you need assistance, and happy file managing!
More Chromebook Tutorials:
 Subscribe Now! 🙂
Discover more from Gauging Gadgets
Subscribe to get the latest posts sent to your email.