Keep one Facebook post at the top of your profile
If you want visitors to see an important update first, you can pin it to the top of your Facebook profile. A pinned post stays above your newer posts, so it does not get pushed down your timeline as you keep posting.
The Facebook mobile app lets you pin a post from the post’s own options menu. You can also remove the pin later when the update is no longer current. This is useful for a key announcement, contact details, an event update, or a post you want new profile visitors to notice.
Video Tutorial
Pin a post on your Facebook profile
Start by opening the Facebook app and going to your own profile. You need to locate the existing post you want to keep at the top before opening its menu.
- Open the Facebook app.
- Select your profile icon next to What’s on your mind? to open your Facebook profile.
- Scroll through your profile until you find the post you want to pin.
- Select the three dots on the right side of that post.
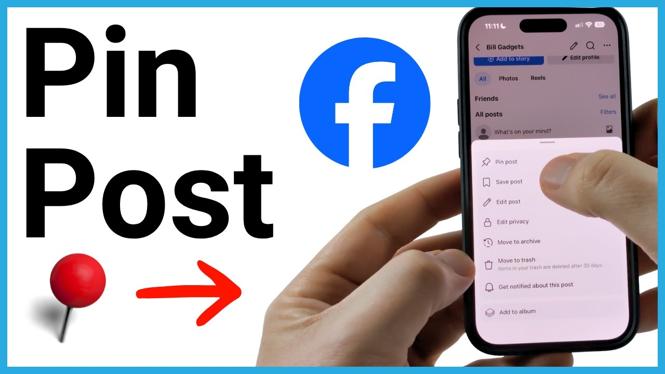
- Select Pin post from the menu.
- Wait for Facebook to finish applying the change.
When the post is pinned, Facebook displays it at the top of your profile and marks it as Pinned. New posts can still be published as usual. The pinned post remains at the top instead of moving down as newer posts are added.
Choose the right post to pin
Pin a post that gives profile visitors useful information right away. A temporary announcement can work well if it is still relevant. For example, you might pin a post about an upcoming event, a major update, a current project, or information you want people to see before they browse older posts.
Check the post before pinning it. Make sure its text is accurate, its audience is appropriate, and any dates or details are still current. Since the post stays in a prominent spot, outdated information can confuse people who visit your profile later.
You can change your pinned post whenever your priorities change. There is no need to leave the same post pinned after the announcement has passed. Replace it with a newer post that better represents what you want visitors to see.
Unpin a Facebook post
Unpinning uses the same post menu. Go to your profile and find the post currently marked as pinned.
- Open your Facebook profile in the app.
- Find the post labeled Pinned at the top of the profile.
- Select the three dots to the right of the post.
- Select Unpin post.
After you unpin it, the post returns to its normal position based on when it was published. It is not deleted, edited, or hidden just because you removed the pin. It simply no longer appears above your newer profile posts.
Check that the post is pinned
After selecting Pin post, give Facebook a moment to load the update. Return to the top of your profile and look for the Pinned label next to the selected post. That label confirms the post is set to stay at the top.
If you do not see the label, open the three-dot menu for the post again and check the available option. A post that is already pinned should offer Unpin post. If it still offers Pin post, the first attempt may not have completed.
Profile pins, Page pins, and group pins
Facebook uses pinning to keep important content visible in several places, including profiles, Pages, and groups. The exact options can differ based on where the post was published and the permissions on that account.
The steps shown here are for pinning a post on your personal Facebook profile in the mobile app. On a Facebook Page or in a Facebook group, look for the post options menu and confirm that you have the needed Page or group permissions before changing how a post is displayed. Use the option Facebook provides for that specific location rather than assuming profile settings apply everywhere.
For a personal profile, the process is simple: open the post menu, choose Pin post, and verify the Pinned label appears at the top of your profile.
More Facebook Tips & Tutorials:
 Subscribe Now! 🙂

Discover more from Gauging Gadgets
Subscribe to get the latest posts sent to your email.