How to Enable Secure Boot on Your Lenovo Laptop
Enabling Secure Boot on your Lenovo laptop is crucial for ensuring that your system remains protected from unauthorized software and potential malware at startup. In 2026, maintaining a secured and efficient operating environment is more important than ever. Fortunately, this process is straightforward and can be completed in just a few minutes, even without technical expertise. In this guide, we will walk you through the steps required to access the BIOS/UEFI settings on your Lenovo IdeaPad, ThinkPad, or Yoga device and enable Secure Boot.
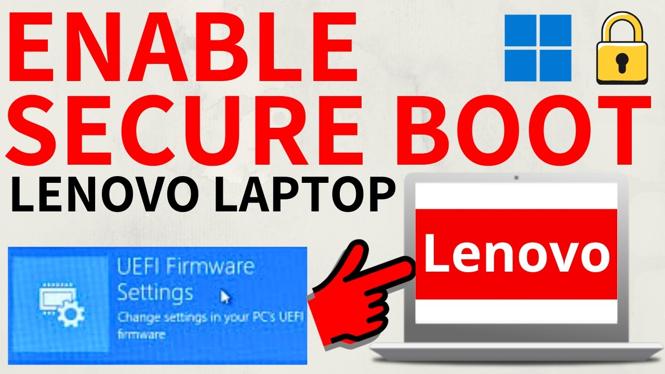
Video Tutorial
Why You Might Be Looking for This Tutorial
You may be looking to enable Secure Boot for various reasons. Perhaps you wish to enhance the security of your laptop, especially if you often connect it to public networks. Enabling Secure Boot can help safeguard your system from low-level malware and bootkit attacks, preventing unauthorized operating systems or software from loading during the startup process. Additionally, if you are planning to install or upgrade to a new operating system, enabling Secure Boot can ensure a smoother, safer installation experience. This tutorial is aimed at helping you take these important steps with ease.
Steps to Enable Secure Boot on Lenovo Laptop
Step 1: Access BIOS/UEFI Settings
To begin, you need to access the BIOS/UEFI firmware settings of your Lenovo laptop. Follow these instructions:
- Shut down your laptop completely.
- Turn it back on and immediately press the F1 or F2 key repeatedly (the exact key may vary depending on your model) until the BIOS/UEFI settings menu appears.
Step 2: Navigate to the Security Tab
Once you are in the BIOS/UEFI settings, follow these steps:
- Use the arrow keys to navigate to the Security tab.
- Look for the Secure Boot option in this menu.
Step 3: Enable Secure Boot
Now that you have located the Secure Boot option:
- Select the Secure Boot option and change its setting to Enabled.
- Some devices may prompt you to set an administrative password or confirm your selection—follow any prompts as necessary.
Step 4: Save and Exit
Finally, you need to save your changes and exit the BIOS/UEFI settings:
- Press F10 to save your changes.
- Confirm the changes if prompted and wait for your laptop to restart.
Conclusion
Enabling Secure Boot on your Lenovo laptop is an essential step in bolstering your system’s security. By following these simple steps, you can protect your device from various threats and ensure a safer computing experience. Should you encounter any issues or require further assistance, feel free to consult your user manual or Lenovo’s official support resources.
More Windows 11 Tips & Tutorials:
 Subscribe Now! 🙂
Discover more from Gauging Gadgets
Subscribe to get the latest posts sent to your email.