Set a custom date and time while your Xbox is offline
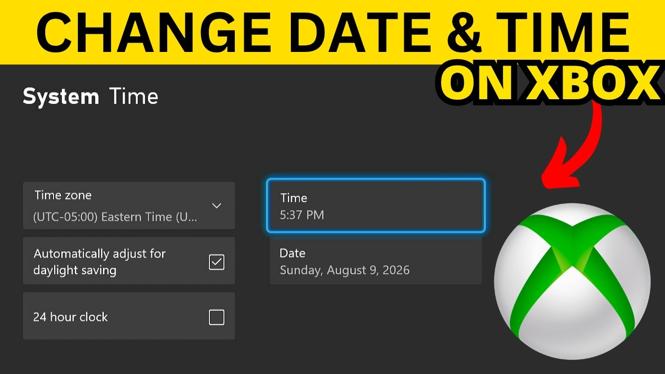
You can manually change the clock on an Xbox Series X, Series S, or Xbox One, but the console must be offline first. When the Xbox connects to the internet again, it synchronizes its clock and replaces the custom date and time with the current one.
There are a few required steps before the custom controls appear. First, make sure the console is set as your Home Xbox. Then disconnect it from the network and restart it. After the restart, the Time screen lets you choose a custom date and custom time.
Video Tutorial
What to know before changing the clock
Xbox normally manages the date and time automatically while it has an internet connection. That is why you cannot simply open Settings and enter a new time while connected. The manual options are available only after taking the console offline and restarting it.
Also, this process uses the Home Xbox setting. Check that your current console has a checkmark beside Make this my home Xbox before going offline. If it does not, set it as your Home Xbox first.
A custom clock is temporary if you reconnect the console. Going online returns the date and time to the current network-synchronized value. Keep this in mind before changing the setting for testing or another specific offline purpose.
How to change Xbox date and time manually
- Press the illuminated Xbox guide button on your controller.
- Move right to Profile & system, then select Settings.
- From the General section, select Personalization.
- Choose My home Xbox.
- Confirm there is a checkmark next to Make this my home Xbox. If needed, select it to make the current console your Home Xbox.
- Go back to the main Settings screen and open Network settings.
- Select Go offline. Once the option changes to Go online, your Xbox is disconnected from the internet.
- Press and hold the Xbox guide button to open the power menu.
- Select Restart console and confirm the restart.
- After the Xbox restarts and you sign in, open Settings again.
- Select System from the left-side menu.
- Choose Time.
- Select Custom time and set the time you want.
- Select Custom date and set the date you want.
Press the Back button when you finish. On the Xbox home screen, the time in the upper-right area should now show the custom time you entered.
Why the custom time option may be missing
If you do not see Custom time or Custom date under System and Time, check the two requirements again. The Xbox needs to be offline, and it needs a restart after you disconnect it.
Open Network settings and verify that the available option says Go online. That wording confirms the console is currently offline. If it instead says Go offline, select it, then restart the console before returning to the Time settings.
It is also useful to revisit General, Personalization, and My home Xbox. Make sure the checkbox for Make this my home Xbox is present on the same Xbox where you are changing the clock.
What happens when you go back online
Reconnecting the Xbox restores automatic time synchronization. The date and time you entered manually will change back to the current date and time. To reconnect, return to Settings, open Network settings, and select Go online.
This also means a custom date and time is not a permanent replacement for the normal Xbox clock. Use it only when you specifically need an offline custom setting. For everyday use, leaving the console online keeps the clock current for system services and online features.
Date and time versus time zone
The steps shown here change the displayed custom date and custom time while the Xbox is offline. They do not show a separate time-zone selection. When your console is online, Xbox automatically maintains the clock, so reconnecting is the way to return to the normal current time.
More Xbox Series X Tips & Tutorials:
 Subscribe Now! 🙂

Discover more from Gauging Gadgets
Subscribe to get the latest posts sent to your email.