How to Add a Photo on a Video in CapCut Mobile
Adding photos to your videos can significantly enhance your content, making it more engaging and visually appealing. CapCut Mobile, a popular video editing app, offers user-friendly tools for overlaying images on videos, allowing you to create dynamic and professional-looking edits right from your smartphone. In this tutorial, we will explore the step-by-step process of adding a photo to your video using CapCut, whether you are using an iPhone or an Android device.
Video Tutorial
Why You Might Be Looking for This Tutorial
You may want to add a photo on a video in CapCut Mobile for several reasons. Perhaps you are a content creator looking to add personal touches to your videos, such as incorporating your brand’s logo, memories from a special event, or promotional images. Adding layered images can help convey more information and context, making your videos more memorable for your audience. Additionally, learning this skill can help you elevate your video editing prowess, allowing you to produce content that stands out on social media platforms.
Steps to Add a Photo on a Video in CapCut Mobile
Step 1: Open CapCut and Create a New Project
Launch the CapCut Mobile app on your smartphone. Tap on the “New Project” button to start editing your video. You will be prompted to select a video from your gallery that you wish to work with. Choose your desired video and tap “Add.”
Step 2: Import Your Photo
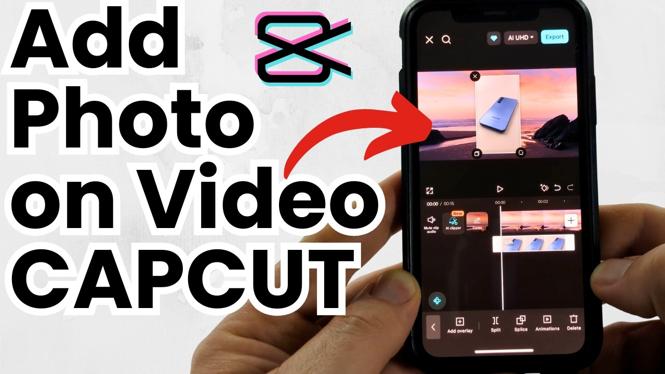
Once your video is loaded in the timeline, look for the “Overlay” option located in the bottom menu. Tap on it, and then select “Add Overlay.” This action will guide you to your photo gallery. Choose the photo you want to add to your video and tap “Add.”
Step 3: Position the Photo
After adding the photo, it will appear as an overlay on your video. You can adjust its position by dragging it around the screen. Place it where you want it to appear in relation to the video content. You can also pinch to resize the image for better alignment with your video.
Step 4: Adjust Timing and Duration
Next, you will want to control when the photo appears in your video. Tap on the overlay image in your timeline to bring up the editing options. There you can adjust the duration of how long the photo will stay on screen by dragging the edges of the overlay in the timeline.
Step 5: Final Touches
Once you’re happy with the placement and timing of your photo, you can add additional effects or filters as needed. Review your video to ensure everything is perfectly aligned and your photo complements the overall theme of your edit.
Step 6: Export Your Video
After making all the necessary edits, it’s time to export your finished project. Tap on the export button in the top right corner and select your desired resolution. Once exported, you can share your video directly to social media or save it for later use.
Conclusion
Adding a photo on a video using CapCut Mobile is a straightforward process that opens up a world of creative possibilities for your video projects. By following these easy steps, you can create unique and captivating edits that resonate with your audience. Start experimenting with overlays today and enhance your videos with CapCut!
More CapCut Tips & Tutorials:
 Subscribe Now! 🙂
Discover more from Gauging Gadgets
Subscribe to get the latest posts sent to your email.