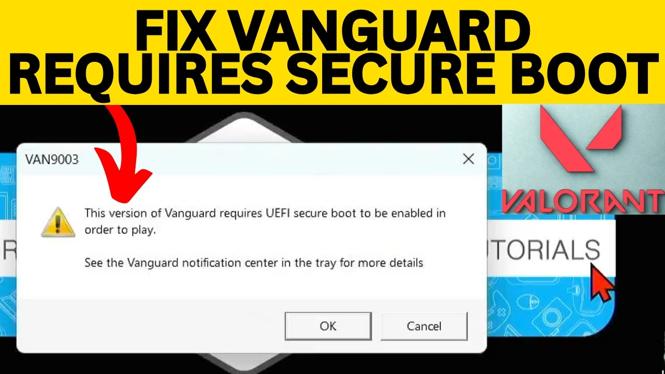
The VAN9003 message means Riot Vanguard cannot detect UEFI Secure Boot as enabled on your PC. You can first confirm the current Secure Boot status in Windows, then restart into your computer’s UEFI firmware settings, often called the BIOS, and turn the setting on.
Your BIOS screens may not match the examples exactly. The setting names can differ by PC manufacturer, but you are looking for Secure Boot, usually within a Security section. Save the change before leaving the BIOS or it will not take effect.
Video Tutorial
Check whether Secure Boot is off
Before changing anything, check the Secure Boot state from Windows. This confirms that Secure Boot is the reason Vanguard is showing the error.
- Select the Windows Start button.
- Type System Information.
- Open System Information from the search results.
- Stay on System Summary.
- Find Secure Boot State in the information list.
If Secure Boot State says Off, enable it in your UEFI firmware settings using the steps below. If it already says On, this specific Secure Boot setting is enabled, so restarting into the BIOS to switch it on is not necessary.
Restart into UEFI firmware settings
You do not need to try to press a BIOS key while the computer starts. Windows includes an Advanced Startup option that takes you to the UEFI firmware menu.
- Right-click the Windows Start button.
- Select Settings.
- Select System.
- Scroll down and select Recovery.
- Under Advanced startup, select Restart now.
- Allow your PC to restart. It will load the blue recovery screen instead of starting Windows normally.
Save any open work before selecting Restart now. The restart closes your open apps.
Enable Secure Boot in the BIOS
On the blue recovery screen, use your mouse to choose the options below.
- Select Troubleshoot.
- Select Advanced options.
- Select UEFI Firmware Settings.
- Select Restart.
Your computer now restarts into its BIOS or UEFI firmware settings. The layout varies between computers, so do not worry if your screen looks different. Look for a section named Security or an option named Secure Boot. If your BIOS has a More Settings option, open it to see additional settings.
- Open the area containing Secure Boot. In the demonstrated BIOS, it is under Security.
- Select Secure Boot.
- Change its value from Disabled to Enabled.
- Find the BIOS option to save your changes and exit. It may be called Save and Exit or Save.
- In the demonstrated BIOS, pressing F10 saves and exits. Confirm the prompt to save Secure Boot as enabled by selecting Yes.
After you save, the PC restarts back into Windows. Do not exit the BIOS without saving. If you leave without saving, Secure Boot remains disabled and Vanguard will continue to show VAN9003.
Confirm the fix and open Valorant
Once Windows has loaded, open System Information again and check Secure Boot State. It should now show On. This is the quickest way to verify that the firmware change was saved correctly.
Then open Valorant and let Vanguard start normally. With Secure Boot enabled, the message stating that this version of Vanguard requires UEFI Secure Boot to be enabled should no longer stop the game from launching.
If Secure Boot State still shows Off, go through the Advanced Startup process again. Return to the BIOS, check that Secure Boot is set to Enabled, then use the save and exit option and confirm the save prompt. The setting must be saved in the BIOS before Windows can report it as on.
Why the BIOS screens can look different
UEFI firmware is provided by your computer or motherboard manufacturer, so its menus are not identical on every device. The wording may differ, and the Secure Boot setting may appear in a different area than the demonstrated Security menu. Focus on finding the Secure Boot option, setting it to Enabled, and saving the change before exit.
More Windows 11 Tips & Tutorials:
 Subscribe Now! 🙂

Discover more from Gauging Gadgets
Subscribe to get the latest posts sent to your email.