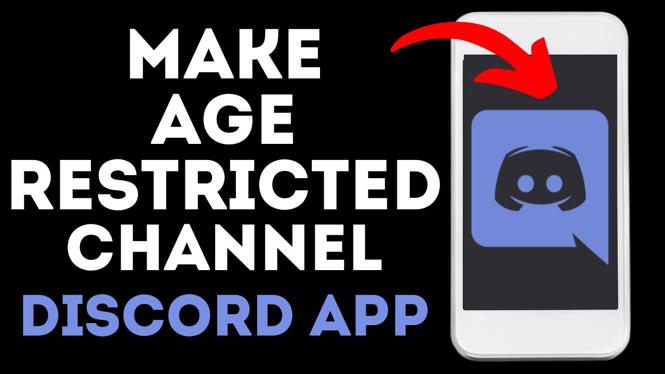
How to Make Age Restricted Channels on Discord Mobile App
Managing a Discord server involves more than just chat; it’s about creating a safe and organized environment for all your members. One crucial aspect of this management is enabling age-restricted channels, especially when dealing with mature content. Whether you’re using an iPhone, Android, or Samsung device, knowing how to effectively set up these restrictions can enhance your server’s functionality while ensuring compliance with Discord’s community guidelines. This guide will walk you through the steps to create age-restricted text or voice channels on the Discord mobile app.
Video Tutorial
Why You Might Be Looking for This Tutorial
There are several reasons why you might be looking for guidance on how to set up age-restricted channels in Discord:
- Protecting Younger Members: If your server is open to users of all ages, it’s essential to ensure that younger members are shielded from inappropriate content.
- Organizing Mature Content: As servers grow, the need to separate mature discussions from general chat becomes necessary for a smoother user experience.
- Compliance with Discord Guidelines: Following Discord’s policies helps maintain a safe community environment and avoid potential penalties against your server.
Steps to Make Age Restricted Channels on Discord Mobile
Creating age-restricted channels on the Discord mobile app is a straightforward process. Follow these steps to set it up efficiently:
- Open the Discord App: Launch the Discord app on your mobile device and log in to your account.
- Select Your Server: Tap on the server where you want to create an age-restricted channel.
- Access Server Settings: Tap on the server name at the top of the screen, then select “Settings” from the dropdown menu.
- Create a New Channel: Under the ‘Channels’ section, tap on the “+” icon to add a new channel. Choose whether you want to create a text or voice channel.
- Channel Name and Permissions: Enter a name for your channel. Before finalizing, make sure to adjust the channel permissions. Look for ‘NSFW Channel’ or ‘Age Restricted’ options and toggle it to enable age restrictions.
- Save Changes: Finally, ensure all settings are correct and save your changes. Your new age-restricted channel is now ready for use.
By following these simple steps, you can maintain a safe space on your Discord server, allowing for mature discussions while protecting younger users. Remember that proper management of your server plays a key role in fostering a respectful and engaging community.
More Discord Tips & Tutorials:
 Subscribe Now! 🙂
Discover more from Gauging Gadgets
Subscribe to get the latest posts sent to your email.