How to Install Visual Studio Code on Windows 11
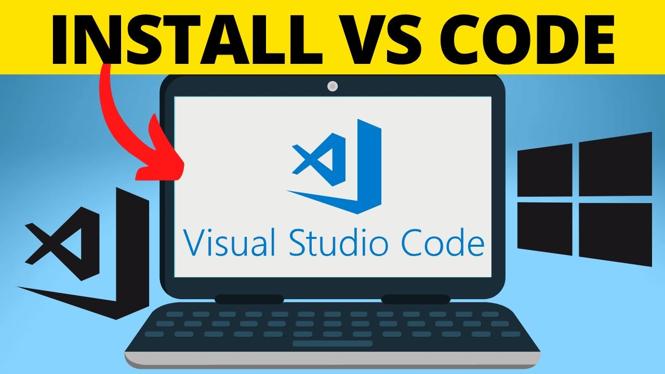
Visual Studio Code (VS Code) is a powerful and flexible code editor that has gained immense popularity among developers for its user-friendly interface and extensive range of features. If you’re looking to enhance your coding experience on Windows 11, installing VS Code is a great choice. This tutorial will guide you through the complete process—from downloading to installation and initial setup—so you can start coding efficiently on your Windows machine.
Video Tutorial
Why You Might Be Looking for This Tutorial
There are several reasons you might be interested in installing Visual Studio Code on your Windows 11 device. Whether you are a beginner looking for a suitable code editor or an experienced developer wanting to enhance your existing tools, VS Code offers functionalities that cater to both simple and complex coding needs. You might seek this tutorial to:
- Learn how to download and install VS Code on your Windows 11 system.
- Understand the setup process for a smooth coding experience.
- Explore useful features that make coding more efficient.
- Find a reliable source that simplifies the installation process, making it accessible for users of all levels.
Steps to Install Visual Studio Code on Windows 11
Follow these straightforward steps to get Visual Studio Code up and running on your Windows 11 computer:
Step 1: Download Visual Studio Code
1. Open your preferred web browser.
2. Visit the official Visual Studio Code website at https://code.visualstudio.com/.
3. Click on the “Download for Windows” button. The website will automatically detect your operating system and provide the appropriate installer.
Step 2: Run the Installer
1. Once the installer is downloaded, locate the file in your downloads folder.
2. Double-click the installer to begin the installation process.
Step 3: Accept the License Agreement
1. Read through the license agreement.
2. If you agree, select “I accept the agreement” and click “Next.”
Step 4: Choose Installation Location
1. You can choose the default installation location or select a different folder if desired.
2. Click “Next” to proceed.
Step 5: Select Additional Tasks
1. Opt for any additional tasks you want to perform, such as creating a desktop icon or adding to PATH.
2. Click “Next” after making your selections.
Step 6: Install Visual Studio Code
1. Click on the “Install” button to begin the installation.
2. Wait for the installation process to complete. Once it’s done, click “Finish” to exit the installer.
Step 7: Launch Visual Studio Code
1. You can now find Visual Studio Code in your Start Menu or on your desktop if you created a shortcut.
2. Click on it to launch the application and start coding!
Conclusion
Installing Visual Studio Code on your Windows 11 device is a quick and easy process that can significantly enhance your programming experience. With its numerous features and extensions, VS Code can adapt to your specific needs as a developer. Follow the steps outlined in this tutorial, and you’ll be ready to write code in no time!
More Windows 11 Tips & Tutorials:
Discover more from Gauging Gadgets
Subscribe to get the latest posts sent to your email.


 Subscribe Now! 🙂

