How to Compress PDF on iPhone or iPad
In today’s digital world, managing files efficiently is essential, especially when it comes to PDFs. Many people find themselves needing to share or store PDF documents, but they often face issues with file sizes that are too large. Whether you want to send a document via email, upload it to a website, or save space on your devices, compressing PDFs without losing quality is a vital skill. In this tutorial, we will guide you on how to compress PDF files on your iPhone or iPad using a free and effective tool called PDFGadget.
Video Tutorial
Why You Might Be Looking for This Tutorial
There are several reasons why you might be seeking to compress a PDF on your mobile device:
- File Size Limitations: Email services and certain platforms often impose file size limits. Compressing your PDF can help you stay within those limits.
- Storage Space: Large PDF files take up valuable storage on your devices. Compressing them can free up space for other important files.
- Efficiency in Sharing: Smaller files are quicker to upload and send, making your workflow more efficient.
- Quality Preservation: The method shown will allow you to compress files while maintaining their quality, which is essential for readability and presentation.
Steps to Compress PDF on iPhone or iPad
Follow these simple steps to compress your PDF files effectively:
- Open Your Browser: Launch the web browser on your iPhone or iPad.
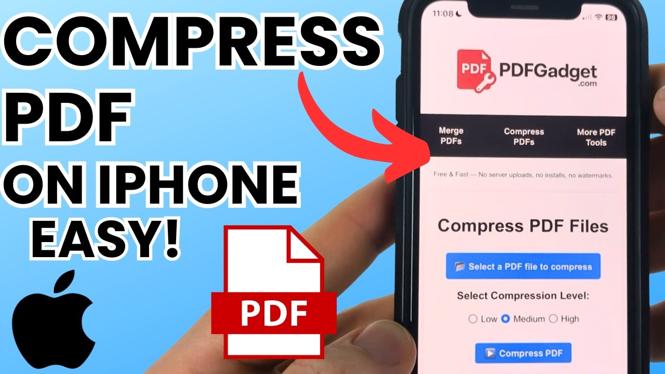
- Visit PDFGadget: In the browser, navigate to the PDFGadget website. This tool operates entirely in the browser, so there’s no need for downloads or installations.
- Upload Your PDF: Click on the upload option provided on the PDFGadget site. You can choose to select a file from your device or use cloud services to find your PDF.
- Adjust Compression Settings: If available, select your desired compression settings. PDFGadget typically offers options that help in maintaining the quality of your document.
- Start Compression: Once you’ve configured the settings, initiate the compression process. This may take a few moments depending on the size of the PDF.
- Download the Compressed File: After the compression is complete, download the newly compressed PDF file to your device.
- Verify the Quality: Open the compressed PDF to ensure the quality meets your expectations.
By following these steps, you will be able to easily compress PDF files on your iPhone or iPad without sacrificing the quality of your documents. Utilizing a tool like PDFGadget ensures that the process is straightforward and hassle-free.
Conclusion
Compressing PDF files on your mobile device can streamline your document management tasks, making it easier to share and store files efficiently. With PDFGadget, you have the power to compress PDFs easily and for free, right from your iPhone or iPad. Now that you have the knowledge, you can tackle any PDF file size challenges that come your way!
More PDF Tools & Tutorials:
 Subscribe Now! 🙂
Discover more from Gauging Gadgets
Subscribe to get the latest posts sent to your email.