How To Make A Ringtone On iPhone With GarageBand
Creating a custom ringtone for your iPhone can add a personal touch to your device and make it stand out. With GarageBand, a powerful audio editing app available on iOS, you can easily create ringtones from your favorite MP3 files or songs. This tutorial will guide you through the steps to make a ringtone using GarageBand without the need for additional apps or a computer. Whether you want to use a clip from a song or an audio file you love, follow along to personalize your ringtone quickly and efficiently.
Video Tutorial
Why You Might Be Looking for This Tutorial
There are various reasons why you might want to create a ringtone using GarageBand. First, personalizing your ringtone can help differentiate your calls from others, especially in a crowded environment. Second, making a ringtone allows you to choose your favorite part of a song, giving you a more enjoyable experience when receiving calls. Finally, this process is straightforward and can be done entirely on your iPhone, making it convenient for users who prefer not to use a computer or additional software.
Steps to Make a Ringtone on iPhone Using GarageBand
Step 1: Install and Open GarageBand
– If you haven’t already, download GarageBand from the App Store on your iPhone.
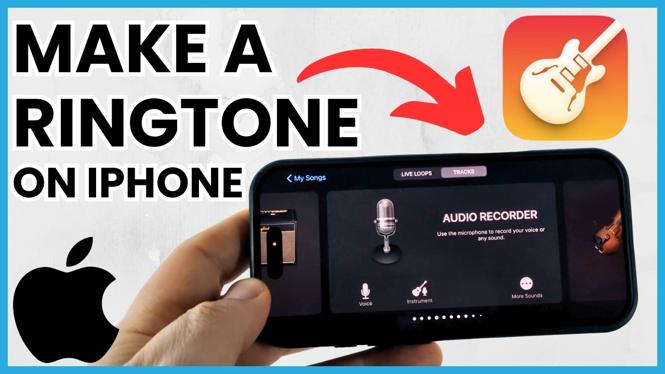
– Open the app and choose the “Audio Recorder” option from the list of instruments.
Step 2: Import Your MP3 File
– Tap on the “Tracks” view to access the main editing screen.
– Select the “+” icon to add a new track.
– Choose the “Loop” icon in the upper right corner, then select “Files” to browse your music library.
– Find and import the MP3 file you want to use as your ringtone.
Step 3: Edit Your Ringtone
– Once the file is imported, drag it onto the timeline.
– Trim the track to the desired length (maximum 30 seconds for a ringtone) by moving the edges of the audio clip.
– You can also add effects or modify the audio to enhance your ringtone.
Step 4: Export Your Ringtone
– Tap on the “My Songs” button to save your project.
– Find your project in the list, tap and hold on it, then select “Share.”
– Choose “Ringtone” from the sharing options.
Step 5: Set Your Ringtone
– Name your ringtone and tap “Export.”
– Once exported, you will be prompted to set it as your default ringtone or assign it to specific contacts.
– Select your preferred option and confirm.
Conclusion
Creating a custom ringtone on your iPhone using GarageBand is a simple yet effective way to personalize your device. By following these steps, you can turn any MP3 file into a unique ringtone tailored to your taste. Enjoy your new ringtone and the satisfaction of having added a personal touch to your iPhone!
More iPhone Tips & Tutorials:
 Subscribe Now! 🙂

Discover more from Gauging Gadgets
Subscribe to get the latest posts sent to your email.