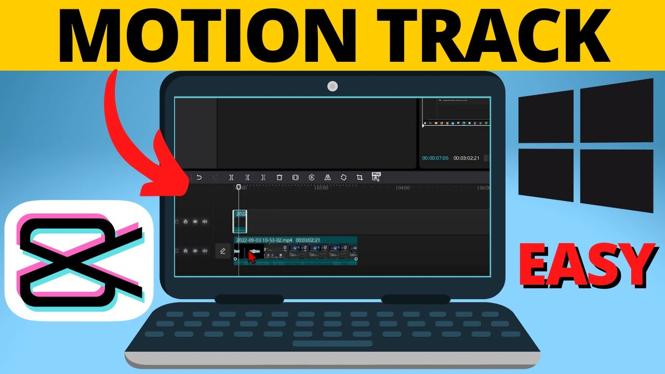
How to Motion Track in CapCut PC
Motion tracking is a powerful visual technique that allows editors to create dynamic effects and engaging content in their videos. Whether you are working on a gaming montage, a vlog, or a cinematic project, learning how to motion track in CapCut PC can elevate your editing skills. CapCut, known for its user-friendly interface and robust features, provides you with the tools needed to make objects and text follow movements within your video seamlessly. In this blog post, you will discover the steps to effectively apply motion tracking in your projects using CapCut on your PC.
Video Tutorial
Why You Might Be Looking for This Tutorial
Many users may be searching for this tutorial because motion tracking can enhance storytelling and visual impact in videos. Content creators often wish to add dynamic elements that grab viewers’ attention, making their projects more professional and engaging. With the rise of video content across platforms, knowing how to motion track can give creators an edge in producing high-quality videos. Additionally, the process may seem complicated for beginners, so having a step-by-step guide can simplify learning and encourage experimentation with creative ideas.
Steps to Motion Track in CapCut PC
- Open CapCut on Your PC: Start by launching CapCut and creating a new project. Import the video you want to work with by clicking on the ‘Import’ button.
- Select the Clip: Click on the video clip in your timeline that you wish to apply motion tracking to.
- Access the Motion Tracking Feature: Navigate to the ‘Effects’ menu located on the left side and find the ‘Motion Tracking’ option.
- Set Motion Tracking Points: After selecting motion tracking, click on the area or object in your video you want to track. A tracking box will appear; adjust it as necessary.
- Track the Motion: Hit the ‘Track’ button to let CapCut analyze the movement throughout the clip. This process may take a few moments.
- Add Objects or Text: Once the tracking is complete, you can add text or effects that will follow the motion of the selected object. Position it appropriately in the timeline.
- Refine Your Edits: Use keyframes to adjust the positioning and timing of the objects or text. Preview your changes to ensure everything stays in sync with the motion.
- Export Your Video: Once you are satisfied with the motion tracking and overall edit, export your video by clicking the ‘Export’ button. Choose your desired resolution and settings before finalizing.
Motion tracking in CapCut is an excellent way to enhance your video editing skills, enabling you to create professional-quality content that captivates your audience. With the steps outlined above and the video tutorial provided, you will be well on your way to mastering this valuable technique. Happy editing!
More CapCut Tips & Tutorials:
Discover more from Gauging Gadgets
Subscribe to get the latest posts sent to your email.


 Subscribe Now! 🙂

