How to Install Google Chrome on Windows 11
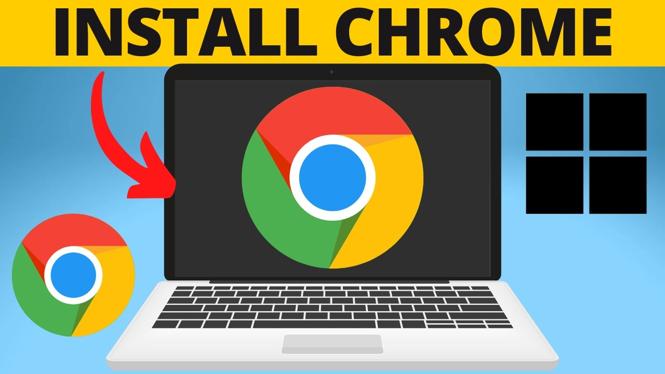
If you’re looking to enhance your browsing experience on Windows 11, installing Google Chrome is a great choice. Known for its speed, user-friendly interface, and extensive library of extensions, Chrome has become one of the most popular web browsers worldwide. In this guide, we will walk you through the step-by-step process of downloading and installing Google Chrome on your Windows 11 PC or laptop.
Video Tutorial
Why You Might Be Looking for This Tutorial
With the release of Windows 11, many users want to know how to optimize their new operating system for the best performance and usability. Google Chrome offers several advantages, including:
- Fast Performance: Chrome is designed to be speedy, which improves your browsing efficiency.
- User Customization: The ability to personalize your browser with themes and extensions caters to individual user needs.
- Robust Security Features: Frequent updates and built-in security measures help protect your sensitive information.
- Cross-Device Sync: Access your bookmarks, history, and settings across devices when you log in with your Google account.
Steps to Install Google Chrome on Windows 11
Follow these straightforward steps to install Google Chrome on your Windows 11 computer:
- Open Microsoft Edge: Start by launching Microsoft Edge, the default web browser on Windows 11.
- Visit the Google Chrome Website: In the address bar, type https://www.google.com/chrome/ and press Enter. This will direct you to the official Google Chrome download page.
- Download Chrome: Click on the ‘Download Chrome’ button. The website will automatically detect your operating system and prepare the correct version for Windows 11.
- Accept Terms: A pop-up window will appear asking you to accept Google’s Terms of Service. Read through the terms and click ‘Accept and Install’.
- Run the Installer: Once the file is downloaded, navigate to your Downloads folder and double-click on the ‘ChromeSetup.exe’ file to run the installer.
- Complete Installation: Follow the prompts in the installation wizard. Once complete, Google Chrome will launch automatically.
- Sign In (Optional): If you wish to sync your data, you can log into your Google account. This step is optional, but it allows you to access your bookmarks, extensions, and settings from any device.
Congratulations! You have successfully installed Google Chrome on your Windows 11 PC or laptop. Enjoy faster browsing and explore the vast range of extensions and customizations available to enhance your surfing experience!
More Windows 11 Tips & Tutorials:
 Subscribe Now! 🙂

Discover more from Gauging Gadgets
Subscribe to get the latest posts sent to your email.