Download Your Video Before Importing It
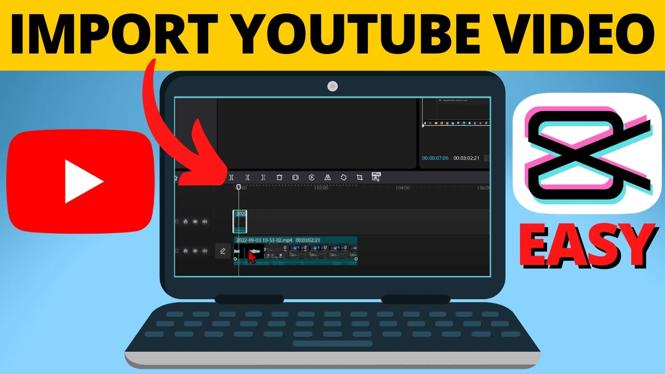
To import a YouTube video in CapCut, you first need a video file saved on your computer. CapCut imports local video files, not videos directly from a YouTube link. The steps shown here use YouTube Studio to download a video from your own channel, then add that file to a CapCut project.
Only download and reuse videos that you uploaded or that you have permission to use. Your own uploads are available in YouTube Studio, which makes this a useful way to turn a longer upload into clips, compilations, or an updated edit.
Video Tutorial
Download a Video From YouTube Studio
Start by signing in to the YouTube account that owns the video. YouTube Studio lists the videos published on that account and provides the download option used in this process.
- Open a web browser and go to youtube.com.
- Log in to the YouTube account where you uploaded the video.
- Select your profile icon in the top-right corner.
- Choose YouTube Studio.
- Select Content to view the videos posted to your channel.
- Find the video you want to edit in CapCut.
- Hover over that video and select the three dots option.
- Select Download.
- Save the video file to a location on your computer that you can find again easily.
Wait for the file to finish downloading before opening CapCut. It helps to remember the folder where you saved it, such as your Downloads folder. You will need to select that exact file during the import step.
Import the YouTube Video in CapCut
Once the download is saved, open CapCut and create or open the project where you want to use the footage. The import option lets you browse your computer and add the downloaded video to CapCut.
- Open CapCut.
- Select Import.
- Browse to the folder where you saved the video from YouTube Studio.
- Select the downloaded video file.
- Choose Open to bring the file into CapCut.
- Drag the imported video down to your project timeline.
The video is now ready to edit. You can trim the footage, pull out a shorter section, add effects, or combine it with other clips in the timeline. If you are making short-form content from a longer upload, place the useful section on the timeline first, then edit that section into the format you need.
Why You Cannot Import a YouTube Link Directly
A YouTube URL points to a video hosted online. CapCut needs an actual video file to place media in your project, so copying and pasting the YouTube link does not complete the import. Downloading your own upload from YouTube Studio gives you a file that CapCut can add to its media area and timeline.
This also keeps your editing workflow simple. You can use the downloaded copy as source footage while your original YouTube upload stays published on your channel. If you make changes in CapCut, export the edited version as a separate video when your project is finished.
Check These Items If You Cannot Find the File
If the video does not appear when you select Import, go back to the location you chose during the download. The file may still be in the browser’s default Downloads folder if you did not choose another folder.
Also make sure you selected the downloaded video file, not a YouTube page shortcut or the video URL. After CapCut imports the correct file, it should appear in the project media area. From there, drag it to the timeline and begin editing your own YouTube footage.
More YouTube Tips & Tutorials:
 Subscribe Now! 🙂

Discover more from Gauging Gadgets
Subscribe to get the latest posts sent to your email.