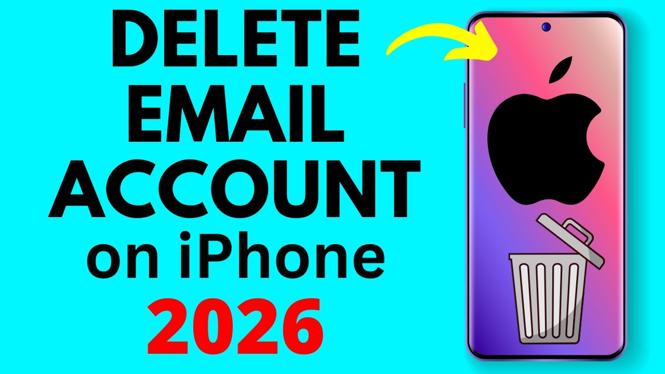
How to Delete Email Account on iPhone
Managing your email accounts on the go is essential, and sometimes, you may find the need to delete an email account from your iPhone. Whether you’re looking to declutter your Mail app, free up storage, or simply start fresh with a new account, this guide provides you with a straightforward approach to removing your email accounts. In this tutorial, we’ll explore the simple steps to delete your email account on an iPhone, ensuring that the process is accessible for everyone, regardless of technical expertise.
Video Tutorial
Why You Might Be Looking for This Tutorial
There can be several reasons why you want to delete an email account on your iPhone:
- Decluttering: Too many email accounts can make it overwhelming to manage your messages. Deleting accounts you no longer use can help keep your Mail app organized.
- Storage Management: Email accounts can store significant amounts of data, and removing unused accounts can free up valuable storage space.
- Starting Fresh: You may want to reset your email settings or shift to a different provider, prompting the need to delete an old account.
- Privacy Concerns: If you no longer wish to access a certain email account, deleting it can ensure that your personal information is kept safe.
Steps to Delete an Email Account on iPhone
Follow these simple steps to delete an email account from your iPhone:
- Open Settings: Locate and tap on the “Settings” app on your iPhone.
- Scroll to Mail: Scroll down and find the “Mail” option and tap on it.
- Accounts: Select “Accounts” to view the list of email accounts linked to your device.
- Select the Account: Choose the email account that you wish to delete by tapping on it.
- Delete Account: Scroll to the bottom and tap on “Delete Account.” A confirmation message will appear.
- Confirm Deletion: Confirm your intention by tapping “Delete” on the confirmation alert. This will remove the account and all related data from your iPhone.
Once you’ve completed these steps, the email account will be successfully removed from your iPhone. Remember, this action cannot be undone, so make sure that you’re ready to delete the account before confirming the deletion.
By following these instructions, you can easily manage your email accounts on your iPhone and ensure that your Mail app remains streamlined and functional. Happy organizing!
More iPhone Tutorials:
 Subscribe Now! 🙂
Discover more from Gauging Gadgets
Subscribe to get the latest posts sent to your email.