How to ENABLE Secure Boot on Windows 11 PC & Laptop
In today’s digital landscape, security is paramount. One of the essential features for safeguarding your Windows 11 PC or laptop is Secure Boot. This handy feature helps ensure that your system boots using only trusted software, protecting against unauthorized access and malicious attacks. If you’re looking to enable Secure Boot but aren’t sure how, you’ve come to the right place. This guide will walk you through the straightforward process of enabling Secure Boot on your device, regardless of whether you own a Dell, HP, Lenovo, Asus, or Acer.
Video Tutorial
Why You Might Be Looking for This Tutorial
As Windows 11 continues to gain traction, understanding how to utilize its security features becomes increasingly important. You might be considering enabling Secure Boot for various reasons:
- Improved Security: Secure Boot helps protect your system from malicious software that could compromise your startup process.
- Meeting System Requirements: Some features of Windows 11 require Secure Boot to be enabled, so turning it on may be necessary for a smooth operating experience.
- Ease of Use: This tutorial is designed for users of all levels, ensuring that even those without technical expertise can follow along and enable Secure Boot with confidence.
Steps to Enable Secure Boot on Windows 11
Follow these simple steps to enable Secure Boot on your Windows 11 PC or laptop:
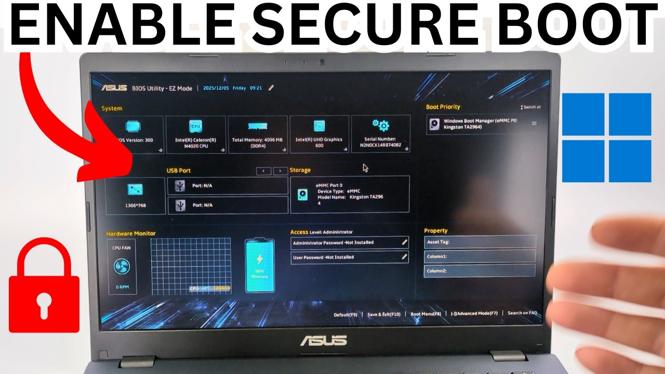
Step 1: Access BIOS/UEFI Settings
To start, you need to access your PC’s BIOS or UEFI firmware settings. Restart your computer and during the boot process, press the appropriate key for your manufacturer. Common keys include:
- Dell – F2 or Delete
- HP – F10
- Lenovo – F1 or F2
- Asus – F2 or Delete
- Acer – F2 or Delete
Step 2: Navigate to the Boot Menu
Once in the BIOS/UEFI settings, use the arrow keys to navigate. Look for the “Boot” tab or section. The layout may vary depending on your manufacturer.
Step 3: Enable Secure Boot
Within the Boot menu, find the Secure Boot option. It is often located under “Security” or “Authentication” settings. Change the Secure Boot setting to “Enabled.” If you can’t find it, consult your motherboard’s manual for guidance.
Step 4: Save and Exit
After enabling Secure Boot, make sure to save your changes. This can usually be done by pressing F10 or by selecting the “Save & Exit” option in the menu. Your computer will then restart automatically.
Step 5: Verify the Changes
After rebooting, you can confirm that Secure Boot is enabled by entering Windows. Right-click on the Start button and select “System.” Under “Device Security,” you should see the Secure Boot status indicating that it’s enabled.
Conclusion
Enabling Secure Boot on your Windows 11 PC or laptop is a vital step towards ensuring your system’s security. By following these straightforward steps, you can confidently protect your computer from unauthorized software and meet the requirements for Windows 11. For those who are visual learners, don’t forget to check out the video tutorial provided above for additional guidance.
More Windows 11 Tips & Tutorials:
 Subscribe Now! 🙂
Discover more from Gauging Gadgets
Subscribe to get the latest posts sent to your email.