How to Rotate a Picture on iPhone
Are you frustrated with a photo that just doesn’t seem right? Whether it’s sideways or upside down, knowing how to rotate a picture on your iPhone can save you time and help you maintain the quality of your images. In this blog post, we’ll cover the simple steps to rotate and flip photos on your iPhone using the built-in Photos app. You won’t need any third-party apps or editing software—just your iPhone and a few minutes of your time.
Video Tutorial
Why You Might Be Looking for This Tutorial
If you’ve ever taken a photo only to realize it was saved in the wrong orientation, or if you’ve downloaded images that come out sideways, knowing how to rotate pictures is essential. You may be looking for this tutorial to:
– Quickly fix orientation issues for images taken with your iPhone camera.
– Ensure that your images are presentation-ready before sharing on social media.
– Learn to manipulate your pictures without relying on complex software or tools.
Whatever your reason, the ability to easily correct photo orientation is a valuable skill for any iPhone user.
Steps to Rotate a Picture on iPhone
Step 1: Open the Photos App
Launch the Photos app on your iPhone. This app is likely already installed and is where all your images are stored.
Step 2: Select the Photo You Want to Rotate
Browse through your albums or the camera roll to find the image you need to rotate. Tap on the photo to open it.
Step 3: Edit the Photo
In the top right corner of the screen, tap on the “Edit” button. This will open up the editing options for the selected photo.
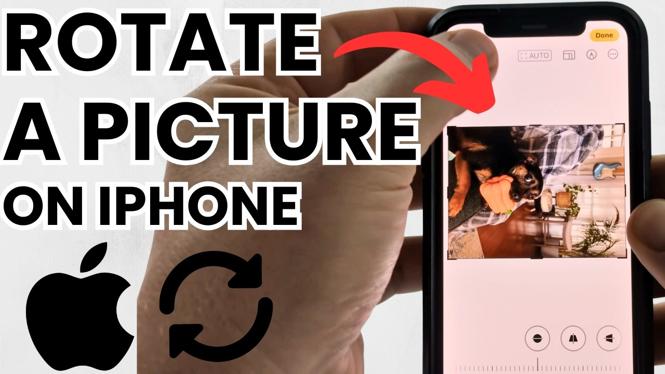
Step 4: Rotate the Photo
Look for the crop icon, which usually resembles a square with arrows surrounding it. Tap on this icon. You’ll then see options to rotate the image. Tap the rotate icon (the square with an arrow circling it) to turn your image. You can rotate it multiple times until you achieve your desired orientation.
Step 5: Flip the Photo (Optional)
If you need to flip your photo horizontally or vertically, you can also do this in the crop mode. Tap on the flip icon (it looks like two overlapping triangles) to flip your image as preferred.
Step 6: Save Your Changes
Once you’re satisfied with the rotation and any flipping, tap “Done” in the top right corner to save your changes. Your photo will now appear in the correct orientation in your library.
Conclusion
Knowing how to rotate and flip pictures on your iPhone can greatly enhance your photo management experience. With just a few simple steps, you no longer have to deal with images that are sideways or upside down. Use this guide to ensure all your photos reflect the quality you desire. Happy editing!
More iPhone Tutorials:
 Subscribe Now! 🙂
Discover more from Gauging Gadgets
Subscribe to get the latest posts sent to your email.