How to Delete Your Facebook Account: A Step-by-Step Guide
If you’ve decided it’s time to say goodbye to Facebook, you’re not alone. Many users are now looking for ways to take control of their online presence and remove themselves from the platform entirely. Whether it’s due to privacy concerns, a desire to reduce screen time, or simply moving on to other social media platforms, knowing how to delete your Facebook account can empower you to make that change.
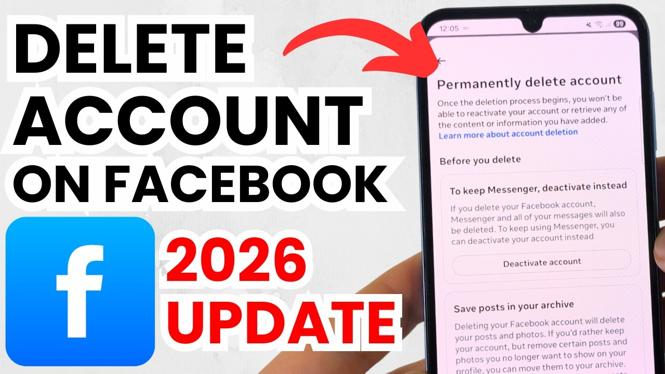
Video Tutorial
Why You Might Be Looking for This Tutorial
There are several reasons why you may be searching for information on how to delete your Facebook account. Perhaps you’re concerned about privacy issues and want to ensure your personal information is no longer accessible. You might also be looking for a mental health break from social media or want to declutter your online life. Understanding the difference between deactivating and permanently deleting your account is crucial in making this decision. In this tutorial, we’ll clarify these options and guide you through the process, step by step, making it as straightforward as possible.
Steps to Permanently Delete Your Facebook Account
Step 1: Backup Your Data
Before deleting your account, it’s advisable to download a copy of your data. To do this, go to the settings area of your Facebook account, click on ‘Your Facebook Information,’ then select ‘Download Your Information.’ Choose the data you wish to download and follow the prompts.
Step 2: Understand the Difference Between Deactivation and Deletion
Deactivating your account is a temporary measure that allows you to return later, while deleting your account is permanent. Make sure you’re ready for a permanent loss of your Facebook account and all associated data before proceeding.
Step 3: Navigate to the Deletion Page
Visit your Facebook settings, then click on ‘Your Facebook Information.’ Here, you’ll find the option to ‘Delete Your Account and Information.’ Click on this link to begin the deletion process.
Step 4: Confirm Your Decision
You will be prompted to enter your password and will receive information about what happens when you delete your account. Carefully read through this information, and if you are sure about your decision, confirm it to proceed.
Step 5: Finalize the Deletion
Once you’ve confirmed the deletion, Facebook will place your account in a queue for deletion. Your account will not be permanently removed for 30 days, which allows you to log back in if you change your mind. After this period, all of your data will be permanently deleted.
Conclusion
Deleting your Facebook account can seem daunting, but by following these simple steps, you can reclaim your privacy and remove your online presence from the platform. Remember to back up any important data before you proceed. If you’re ready to take the plunge, follow this guide to delete your Facebook account today.
More Facebook Tips & Tutorials:
 Subscribe Now! 🙂
Discover more from Gauging Gadgets
Subscribe to get the latest posts sent to your email.