How to Connect Xbox Controller to Windows 11 PC & Laptop
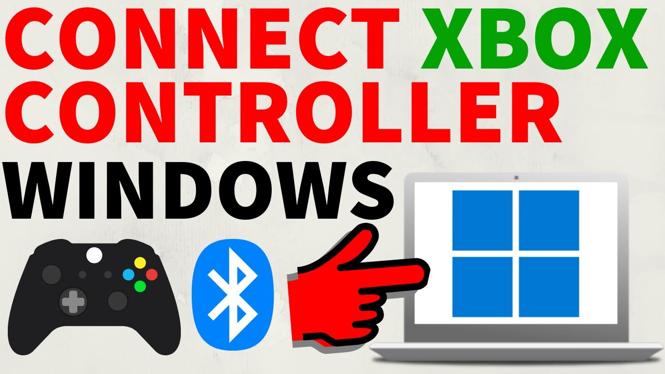
In this guide, we’ll walk you through the steps needed to connect your Xbox controller to your Windows 11 PC or laptop using Bluetooth. With gaming becoming increasingly popular on PCs, many gamers prefer to use a console controller for a more familiar and comfortable experience. Connecting your Xbox controller wirelessly to your computer is a straightforward process, and once set up, it allows for a seamless gaming experience without the hassle of cables.
Video Tutorial
Why You Might Be Looking for This Tutorial
You may be searching for ways to connect your Xbox controller to your Windows 11 device for various reasons:
- Seamless Gaming Experience: Playing games with a controller can provide better control and comfort than using a keyboard and mouse for some titles.
- Wireless Connectivity: Connecting via Bluetooth means you won’t have to deal with wires or adapters, providing a cleaner gaming setup.
- Compatibility: If you’re transitioning from console to PC gaming, you likely want to utilize your existing Xbox controller rather than purchase a new one.
Steps to Connect Xbox Controller to Windows 11 PC & Laptop
Follow these simple steps to connect your Xbox controller to your Windows 11 device:
- Ensure Bluetooth is Enabled: Before you begin, make sure your Windows 11 PC or laptop has Bluetooth capability and that it is enabled. You can check this by clicking on the network icon in the taskbar.
- Turn on Your Xbox Controller: Press the Xbox button on your controller to turn it on. If it doesn’t turn on, ensure it has batteries or is charged.
- Activate Pairing Mode: To put your Xbox controller into pairing mode, hold the pairing button (located on the top of the controller) until the Xbox button starts flashing. This indicates that the controller is now discoverable.
- Open Bluetooth Settings on Your PC: Click on the Start menu, then select ‘Settings’. Navigate to ‘Devices’, and then click on ‘Bluetooth & other devices’. Make sure Bluetooth is turned on.
- Add a Bluetooth Device: Click on ‘Add Bluetooth or other device’ and select ‘Bluetooth’. Your PC will start scanning for devices.
- Select Your Xbox Controller: Once your controller appears in the list of available devices, click on it to pair. Your PC may take a moment to connect, but once it’s done, the Xbox button will stop flashing and remain lit.
- Test Your Controller: After the controller is connected, it’s good practice to test it by opening a game or the ‘Game Controllers’ settings in Windows to ensure everything is working correctly.
Once these steps are completed, you should be ready to enjoy gaming on your Windows 11 computer with your Xbox controller. If you run into any problems, double-check the Bluetooth settings and ensure your controller is charged and in pairing mode.
Conclusion
Connecting your Xbox controller to a Windows 11 PC or laptop is a quick and easy process that can enhance your gaming experience. With the convenience of wireless connectivity, you can enjoy your favorite titles with greater comfort and control. By following the steps outlined in this guide, you’ll be set up and ready to game in no time.
More Windows 11 Tips & Tutorials:
Discover more from Gauging Gadgets
Subscribe to get the latest posts sent to your email.


 Subscribe Now! 🙂

