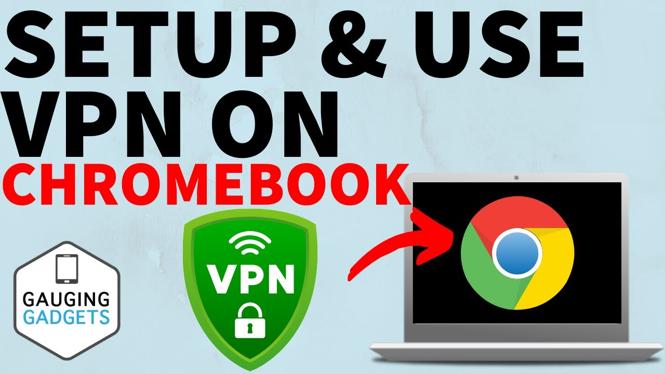
How to Use VPN on Chromebook
In today’s digital world, online privacy and security are more important than ever. With the increasing prevalence of cyber threats and data breaches, using a Virtual Private Network (VPN) has become essential for many internet users. This is especially true for Chromebook users who wish to enhance their online privacy, access region-restricted content, and secure their connection on public Wi-Fi networks. In this guide, we will walk you through the steps to set up and use a VPN on your Chromebook, including recommendations for the best free VPN options available in 2025.
Video Tutorial
Why You Might Be Looking for This Tutorial
There are several reasons why you may want to learn how to use a VPN on your Chromebook:
- Enhanced Privacy: A VPN encrypts your internet connection, which helps protect your personal information from hackers and snooping third parties.
- Access to Restricted Content: Many streaming services and websites are geo-blocked, meaning you can’t access them from certain regions. A VPN allows you to bypass these restrictions.
- Secure Public Wi-Fi Use: When using public Wi-Fi, your data can be vulnerable to interception. A VPN helps secure your connection, making it safer to browse, shop, or access sensitive information.
- Improved Internet Speeds: In some cases, a VPN can help improve your internet speed by circumventing throttling imposed by your internet service provider.
Steps to Set Up and Use a VPN on Your Chromebook
Follow these simple steps to install and connect to a VPN on your Chromebook:
Step 1: Choose a VPN Service
Select a reliable VPN service that is compatible with Chromebook. Some popular options include NordVPN, ExpressVPN, and a few free options like ProtonVPN. Ensure that the VPN offers a good balance of speed, security, and ease of use.
Step 2: Sign Up for the VPN
Once you’ve chosen a VPN service, visit their website and sign up for an account. Most services offer a trial period or a money-back guarantee, allowing you to test the service before committing.
Step 3: Install the VPN App
Visit the Chrome Web Store and search for the VPN application you signed up for. Click “Add to Chrome” to install the application. Alternatively, some VPNs may have a dedicated Chrome app or browser extension available for installation.
Step 4: Log in to the VPN
After installing the VPN app, open it and enter your account credentials to log in. You may need to grant the app permission to access your device.
Step 5: Connect to the VPN Server
Once logged in, you’ll see a list of available servers. Choose a server location that meets your needs (e.g., a location close to you for speed or a different country to access region-restricted content) and click “Connect.”
Step 6: Confirm Your Connection
Once connected, the VPN application will indicate your connection status. You can visit a site like WhatIsMyIP.com to check your new IP address and confirm that the VPN is working correctly.
Step 7: Browse Safely
Now that you’re connected to the VPN, you can enjoy safer browsing. Remember to connect to the VPN every time you access public Wi-Fi or want to access geo-blocked content.
Conclusion
Using a VPN on your Chromebook is an excellent way to enhance your online privacy, secure your connection on public networks, and access content that may be restricted in your region. Follow the steps outlined in this guide, and consider using the recommended VPN options for the best experience. Don’t compromise your online safety – take control of your internet experience today!
More Chromebook Tutorials:
Discover more from Gauging Gadgets
Subscribe to get the latest posts sent to your email.


 Subscribe Now! 🙂

