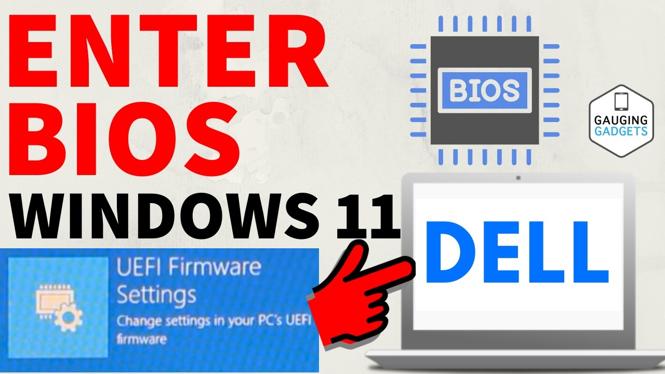
How to Enter BIOS on Dell PC or Laptop in Windows 11
Accessing the BIOS on your Dell PC or laptop is a crucial skill that can enhance your control over hardware settings and system performance. Whether you need to change the boot order, enable virtualization, or troubleshoot hardware configurations, knowing how to enter the BIOS can save you time and frustration. Many users seek this information, especially those upgrading to Windows 11, as the process may differ slightly compared to previous versions of Windows. This comprehensive guide will walk you through the steps to access the BIOS on various Dell models, ensuring that you can manage your system with confidence.
Video Tutorial
Why You Might Be Looking for This Tutorial
There are several reasons why you might want to access the BIOS on your Dell device:
- Changing Boot Order: You may need to change the boot order to start your PC from a USB drive or external device for installations or troubleshooting.
- Enabling Virtualization: If you’re planning to run virtual machines, you will need to enable virtualization settings in the BIOS.
- Troubleshooting Hardware Issues: Accessing the BIOS allows you to identify and rectify hardware configuration problems that may be impacting your system’s performance.
- Updating System Settings: Adjust configurations for devices like hard drives, graphics cards, and other essential components to ensure they work efficiently.
Steps to Enter BIOS on Dell PC or Laptop in Windows 11
To access the BIOS on your Dell PC or laptop running Windows 11, follow these simple steps:
- Shut Down Your Computer: Start by completely shutting down your Dell device.
- Power On the Device: Turn on your computer.
- Press the F2 Key: As soon as the Dell logo appears on the screen, repeatedly press the F2 key. This will take you directly into the BIOS setup screen.
- Explore BIOS Settings: Once inside the BIOS, you can navigate through various settings using your keyboard. Use the arrow keys to move and the Enter key to select.
- Make Necessary Changes: Adjust any settings you need, such as boot order or hardware configurations.
- Save Changes and Exit: After making the desired adjustments, press F10 to save your changes and exit the BIOS setup.
Conclusion
Accessing the BIOS on your Dell PC or laptop running Windows 11 is a straightforward process that can significantly enhance your computer management capabilities. Whether you need to troubleshoot issues or optimize settings, following these steps ensures that you can navigate the BIOS with ease. With the help of this guide and the accompanying video tutorial, you can confidently make necessary adjustments to your system.
More Windows 11 Tips & Tutorials:
 Subscribe Now! 🙂

Discover more from Gauging Gadgets
Subscribe to get the latest posts sent to your email.