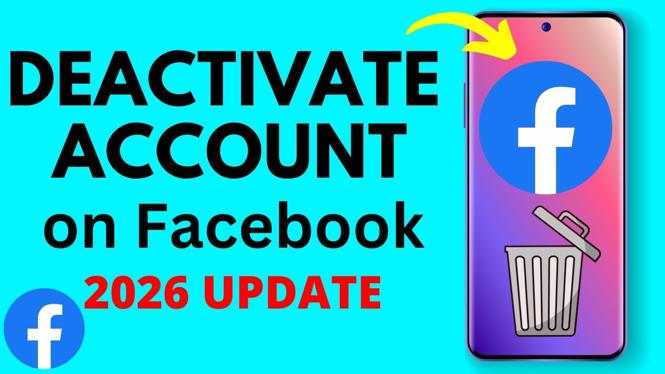
How to Deactivate Your Facebook Account: A Step-by-Step Guide
In today’s fast-paced digital world, it’s common for users to feel the need to take a break from social media platforms like Facebook. Whether it’s for mental health reasons, to focus on personal projects, or simply to regain some offline time, deactivating your Facebook account temporarily can be a great choice. This tutorial will walk you through the process of deactivating your Facebook account in a few simple steps, ensuring that your profile is hidden from others while preserving your data.
Video Tutorial
Why You Might Be Looking for This Tutorial
Many people seek to deactivate their Facebook accounts for various reasons:
- Privacy Concerns: With increasing awareness about online privacy, users want to take control of their personal information.
- Mental Health Break: For some, social media can be overwhelming. Deactivating an account can help alleviate stress.
- Time Management: Reducing time spent on social media helps individuals focus on other important aspects of their lives.
- Testing Alternatives: Many users want to explore other social media platforms and might not want to be active on multiple accounts at once.
Steps to Deactivate Your Facebook Account
- Log Into Your Account: Start by logging into your Facebook account using your credentials.
- Access the Settings Menu: Click on the downward arrow in the top right corner of the screen, and select “Settings & Privacy,” then click on “Settings.”
- Navigate to Your Information: In the left-hand menu, find and click on “Your Facebook Information.”
- Choose Deactivation: Scroll down to the section titled “Deactivation and Deletion.” Click on “View” next to this option.
- Select Deactivate Account: Choose the “Deactivate Account” option and then click “Continue to Account Deactivation.”
- Follow the Prompts: Facebook will provide information on what happens when you deactivate your account. Follow the prompts, providing a reason for deactivation if desired.
- Confirm Deactivation: Finally, click on the “Deactivate” button to complete the process. You will receive an email confirming your account has been deactivated.
It’s essential to remember that when you deactivate your account, your profile becomes invisible to other users, and you can reactivate it anytime by logging back in. This gives you the flexibility to take a break while keeping your data intact. Follow these steps, and enjoy your time away from Facebook!
More Facebook Tips & Tutorials:
 Subscribe Now! 🙂
Discover more from Gauging Gadgets
Subscribe to get the latest posts sent to your email.