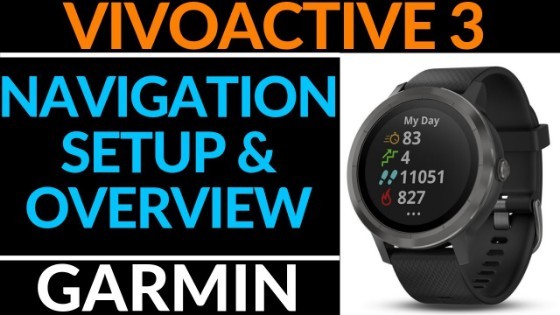
Want to learn how to navigate on the Garmin Vivoactive 3 or Vivoactive 3 Music?
In this tutorial, I show you how to set up and use the navigation on your Garmin Vivoactive 3. Navigating on the Garmin VIvoactive 3 is simple and very useful. Not only do I show you how to navigate the Garmin Vivoactive 3, but also how to create and edit saved locations on the Garmin Vivoactive 3. Don’t have yours? No worries!
Order One Today 👇
Garmin Vivoactive 3: https://geni.us/GarminVA3
Garmin Vivoactive 3 Music: https://geni.us/Vivoactive3Music
Garmin Vivoactive 3 Refurbished: https://geni.us/Vivoactive3Refurb
Useful Accessories 👇
Garmin Vivoactive 3 Extra Charging Cable: https://geni.us/VA3ChargingCabl
Garmin Vivoactive 3 Screen Protector: https://geni.us/VA3ScreenProtecto
Garmin Vivoactive 3 Port Protector: https://geni.us/VA3Por
Garmin Vivoactive 3 Replacement Watch Band: https://geni.us/VA3WatchBand
Video Tutorial:
The navigation features on the Garmin Vivoactive 3 are somewhat limited. These features include saving locations via GPS, directional navigation, and distance from location displays.
How to create and edit saved locations on Garmin Vivoactive 3:
- Select the Activity button and select Navigate Activity.
- Select Save Location (the GPS will figure out coordinates).
- Select Save.
- Select an icon for this location.
How to set up and use the navigation on your Garmin Vivoactive 3:
- Select the Activity button and select Navigate Activity.
- From the Navigate Activity options, select Save Location (to add a saved location).
- Once completed, select Saved Location in the Navigate Options.
- Your navigation on the Garmin Vivoactive 3 has now started!
- To stop navigation, hold the touch screen and select Stop Navigation.
- Then select Done.
If you liked this tutorial, don’t forget to check out our other tutorials here or on YouTube.
Other Garmin Vivoactive 3 Video Tutorials!
Discover more from Gauging Gadgets
Subscribe to get the latest posts sent to your email.


 Subscribe Now! 🙂

