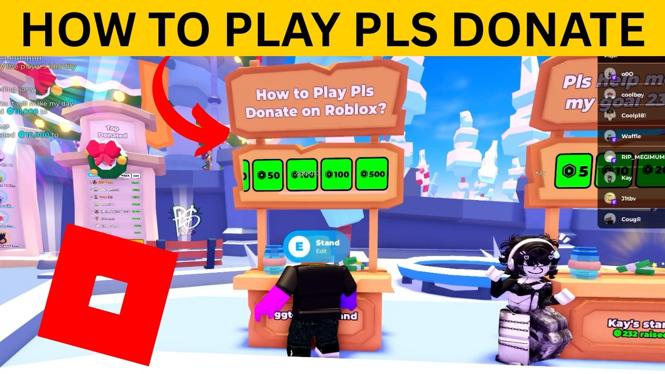
How to Play PLS DONATE on Roblox
Are you looking to dive into the world of PLS DONATE on Roblox? Whether you are new to Roblox or a seasoned player, this tutorial will guide you through the essential steps you need to start earning Robux by collecting donations from other players. PLS DONATE is one of the most popular games on Roblox, making it a great opportunity for players to monetize their creativity and engage with the community. Below, I will walk you through how to set up your booth, claim a stand, and get started in this fun and rewarding game.
Video Tutorial
Why You Might Be Looking for This Tutorial
Many players seek out guidance on how to play PLS DONATE for various reasons:
- New Players: If you are new to Roblox, learning how to navigate a game like PLS DONATE can be overwhelming. This tutorial aims to simplify your entry into the game.
- Earning Robux: Robux is an essential currency in the Roblox ecosystem, and PLS DONATE provides a unique platform to earn it through donations.
- Improving Gameplay: Players who have tried PLS DONATE may be looking to enhance their gameplay experience or maximize their earnings through effective booth strategies.
- Community Engagement: Understanding how to effectively interact with other players can lead to a more enjoyable gaming experience and help you build meaningful connections within the Roblox community.
Steps to Play PLS DONATE on Roblox
Step 1: Create a Roblox Account
If you’re not already a Roblox member, start by creating an account on the Roblox website. This will give you access to all games, including PLS DONATE.
Step 2: Log into Roblox
Once you have your account, log into Roblox from your PC, laptop, Chromebook, or Mac computer.
Step 3: Search for PLS DONATE
Use the search bar to find PLS DONATE. Click on the game to enter.
Step 4: Set Up Your Booth
Once in the game, look for an available booth or stand. This is where you’ll be able to showcase your donation requests. Follow the prompts to set up your booth, customize it, and create clear donation options for potential donors.
Step 5: Claim Your Stand
After setting up, make sure to claim your stand. This is crucial as it designates the area where players will donate to you. Keep your booth active to attract donations from those passing by.
Step 6: Engage with the Community
Interact with other players in the game. Thank donors and promote your booth to increase visibility. The more engaged you are, the more likely you are to receive donations.
Step 7: Monitor Your Earnings
Keep track of your donations and earnings through the in-game interface. This will help you understand which strategies are working and what changes you might need to implement for better results.
Following these steps will help you get started with PLS DONATE on Roblox. Enjoy your time collecting donations, and good luck maximizing your Robux!
More Roblox Tips & Tutorials:
 Subscribe Now! 🙂
Discover more from Gauging Gadgets
Subscribe to get the latest posts sent to your email.