How to Fix a Laptop with a Black Screen
If your laptop powers on but the screen remains black, you’re not alone. This issue is quite common and can be caused by various factors such as software glitches, hardware failures, or even connection problems. Instead of rushing to a technician or spending money on repairs, you can follow these simple troubleshooting steps to potentially solve the problem on your own. This guide will provide you with clear instructions suitable for Windows 10, Windows 11, and popular laptop brands including HP, Dell, Lenovo, and ASUS.
Video Tutorial
Why You Might Be Looking for This Tutorial
Finding your laptop on but with a black screen can be incredibly frustrating. You may be searching for solutions because:
- Your laptop appears to function normally (sounds and lights indicate power), but the display is dark.
- You want to avoid expensive repair bills or long wait times at a repair shop.
- You are looking for a quick fix to get your laptop up and running again.
- You are tech-savvy and prefer solving problems on your own.
Troubleshooting Steps to Fix a Black Screen on Your Laptop
Follow these steps in order to resolve the black screen issue:
1. Check Power Supply and Connections
Ensure that your laptop is charged. Plug in the charger and check for any signs of life such as lights or sounds. If the laptop is connected to an external display, ensure all cables are securely connected.
2. Perform a Power Cycle
Sometimes, performing a power cycle can resolve performance issues. To do this:
- Turn off the laptop completely.
- Remove the battery (if possible) and unplug the charger.
- Press and hold the power button for 15-20 seconds to discharge any residual power.
- Reconnect the battery and charger, and turn on the laptop.
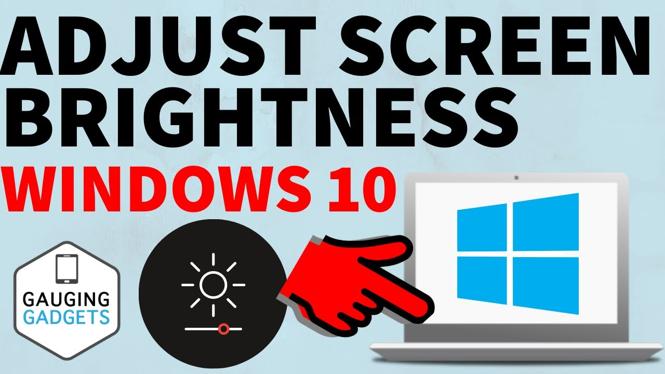
3. Check Display Brightness
In some cases, the display brightness might be turned down all the way. Use the function keys (usually labeled with a sun icon) to adjust the brightness and see if the screen becomes visible.
4. Connect to an External Display
To determine if the issue is with your laptop’s display or the system itself, connect the laptop to an external monitor or TV using an HDMI or VGA cable. If the external display shows the laptop’s output, the issue likely exists within the laptop’s screen or connections.
5. Boot into Safe Mode
If you suspect a software issue, try booting into Safe Mode:
- Turn off the laptop and turn it back on.
- Immediately start pressing the F8 key (or Shift + F8) until you see the Advanced Boot Options.
- Select ‘Safe Mode’ and press Enter.
If the laptop starts in Safe Mode, a driver issue or software conflict may be causing the black screen. Update drivers or uninstall recent applications.
6. Update or Reinstall Graphics Drivers
Outdated or corrupted graphics drivers can cause display issues. In Safe Mode, navigate to Device Manager and find your graphics adapter. Right-click and select ‘Update driver’ or uninstall the driver and restart the laptop to reinstall it automatically.
7. Hardware Check-Up
If none of the above solutions work, the problem may be related to hardware. Check connections to the LCD screen. If you feel comfortable, open the laptop to inspect for loose cables or issues with the screen itself. Otherwise, consider contacting a professional.
Conclusion
A black screen issue on your laptop can be frustrating, but with the troubleshooting steps outlined above, you may be able to resolve the problem without professional help. Always begin with simple checks and gradually move to more complex solutions. If you continue to experience problems, it may be time to consult a technician to avoid potential hardware damage.
More Windows 11 Tips & Tutorials:
 Subscribe Now! 🙂
Discover more from Gauging Gadgets
Subscribe to get the latest posts sent to your email.