How to Remove Recycle Bin from Desktop on Windows 11 PC & Laptop
Are you tired of seeing the Recycle Bin icon cluttering your desktop? Windows 11 offers the option to customize your desktop, and one effective way to achieve a cleaner, minimalist look is by removing or hiding the Recycle Bin icon. Whether you want to improve the aesthetics of your workspace, make room for other important icons, or simply prefer a more streamlined interface, this tutorial will guide you through the simple steps to declutter your desktop without affecting your file management system.
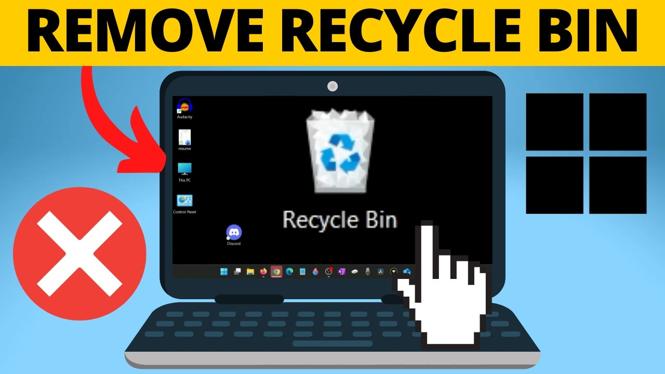
Video Tutorial
Why You Might Be Looking for This Tutorial
Many users seek to customize their desktop environment to reflect their personal style and improve productivity. One common reason for removing the Recycle Bin icon may include:
- Minimalist Aesthetic: A cleaner desktop can be visually appealing and less distracting.
- Maximizing Space: With fewer icons, you can better manage your workspace and focus on what matters.
- Personal Preference: Some users simply do not use the Recycle Bin and prefer not to see it on their desktop.
- Organizational Needs: Reducing icon clutter can help you stay organized and make important icons stand out.
Steps to Remove Recycle Bin from Your Desktop
Follow these simple steps to hide the Recycle Bin icon on your Windows 11 desktop:
- Right-Click on the Desktop: Begin by right-clicking on an empty area of your desktop. This action will open up a context menu.
- Select Personalize: From the context menu, click on “Personalize.” This will take you to the Personalization settings.
- Access Themes: On the left sidebar, find and click on “Themes.” This section contains various options to customize your Windows experience.
- Desktop Icon Settings: Under the “Related Settings” area, click on “Desktop icon settings.” This will bring up a new window with the available desktop icons.
- Uncheck Recycle Bin: In the Desktop Icon Settings window, you will see a checkbox for “Recycle Bin.” Uncheck this box to hide the Recycle Bin icon from your desktop.
- Apply Changes: After unchecking the box, click “Apply” and then “OK” to confirm your changes. The Recycle Bin icon should now be removed from your desktop.
Conclusion
Removing the Recycle Bin from your Windows 11 desktop is a straightforward process that can significantly enhance your desktop appearance and usability. By following the steps outlined in this tutorial, you can achieve a more organized and visually appealing workspace. Whether you’re aiming for minimalism or just prefer a clutter-free view, this guide has you covered.
More Windows 11 Tips & Tutorials:
 Subscribe Now! 🙂
Discover more from Gauging Gadgets
Subscribe to get the latest posts sent to your email.