How to Change Video Background in CapCut PC
In today’s digital world, creating compelling video content is more important than ever. Whether you’re working on a personal project, a YouTube channel, or business marketing videos, the background can make a significant difference in the overall quality and impact of your work. This is where learning how to change or remove the background of your video using CapCut on your PC comes into play. CapCut, a powerful video editing tool, offers easy-to-use features that allow you to enhance your videos with just a few clicks.
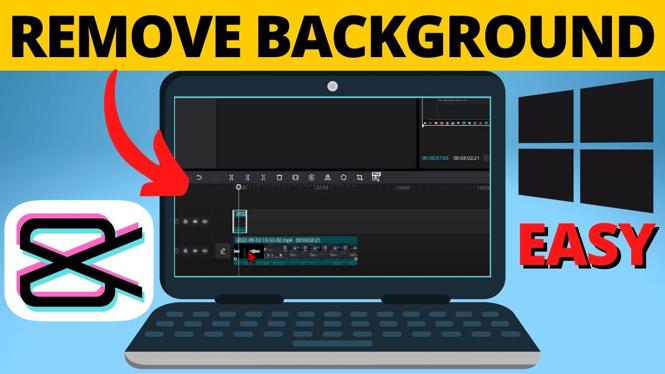
Video Tutorial
Why You Might Be Looking for This Tutorial
As a content creator, you may find yourself searching for tutorials on changing video backgrounds for several reasons:
- Enhancing Video Quality: A well-chosen background can elevate your video from average to professional.
- Creating Green Screen Effects: With CapCut, you can easily implement green screen effects without requiring advanced software skills.
- Adding Visual Appeal: Changing the background can make your videos more engaging and visually appealing for your audience.
- Flexibility in Editing: CapCut’s intuitive interface provides flexibility in choice, helping you to customize your videos efficiently.
Step-by-Step Guide to Changing Video Background in CapCut PC
Follow these simple steps to change or remove the background of your videos using CapCut on your PC:
Step 1: Download and Install CapCut
If you haven’t already, download and install CapCut on your Windows or Mac computer. You can find the application on the official CapCut website or your system’s application store.
Step 2: Import Your Video
Open CapCut and create a new project. Import the video from which you want to change the background. You can do this by dragging and dropping the file into the timeline or clicking on the import button.
Step 3: Use the Background Removal Tool
Once your video is in the timeline, select it. Look for the “Background Removal” option in the toolbar. CapCut provides two primary methods for background removal: Auto Cutout and Chroma Key. Choose the method that suits your video needs:
- Auto Cutout: Ideal for videos without a green screen, this feature automatically detects the subject and removes the background.
- Chroma Key: Use this if you have filmed your subject in front of a solid color (commonly green). Adjust the settings to match the color you want to remove.
Step 4: Add a New Background
After removing the old background, you can add a new one. Click on the “Overlay” button and select the image, color, or video you want to use. Adjust its position and size to fit the frame of your original video.
Step 5: Final Adjustments
Make any final adjustments needed to ensure the subject and new background look cohesive. Use the filters, brightness, and contrast settings to blend your elements effectively.
Step 6: Export Your Video
Once you are satisfied with your edits, export your video by clicking on the export button. Choose your desired resolution and format, and then save it to your PC.
Conclusion
Changing the background in your videos using CapCut on PC is a straightforward process that can significantly enhance your content. Whether you’re working on a professional project or a fun personal video, mastering this skill will help you create polished and engaging content. With CapCut’s intuitive tools, you can bring your creative vision to life with ease.
More CapCut Tips & Tutorials:
 Subscribe Now! 🙂
Discover more from Gauging Gadgets
Subscribe to get the latest posts sent to your email.