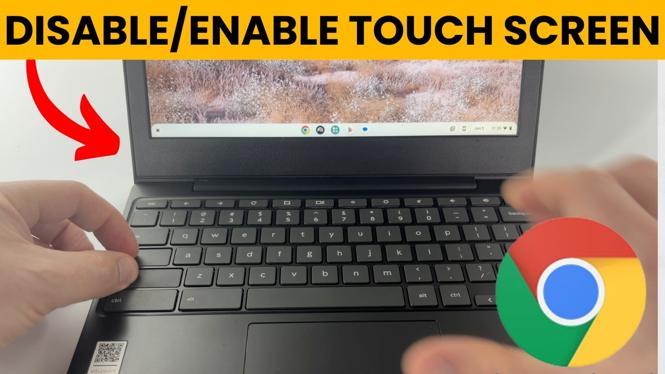
How to Disable or Enable Touch Screen on Chromebook
In the fast-paced world of technology, knowing how to efficiently manage your devices is crucial. Chromebooks are popular for their simplicity and functionality, and one of the features users may want to control is the touch screen capability. Whether you’re looking to troubleshoot an issue, conserve battery life, or simply prefer using traditional input methods, toggling your Chromebook’s touch screen on and off can be a valuable skill. This guide will walk you through the simple steps to enable or disable the touch screen feature on your Chromebook without the need for additional downloads or technical expertise.
Video Tutorial
Why You Might Be Looking for This Tutorial
There are several scenarios where disabling or enabling the touch screen on your Chromebook might be necessary. Firstly, if you encounter an unresponsive touch screen, turning it off and on could help reset the functionality. Secondly, some users prefer using a mouse and keyboard for precision tasks, particularly when typing long documents or navigating complex websites. Additionally, disabling the touch screen can help avoid accidental touches, especially in tablet mode or when the device is used in unconventional positions. Understanding how to manage this feature can enhance your overall user experience and extend the life of your device.
Steps to Disable or Enable Touch Screen on Chromebook
- Access Settings: Click on the time in the bottom right corner of your screen to open the Quick Settings panel. Then, select the gear icon to access the Settings menu.
- Navigate to Device Settings: In the Settings menu, scroll down and click on ‘Device’. Here, you will find options related to your Chromebook’s hardware.
- Select Display: Within the Device section, click on ‘Displays’. This is where touch screen options will be available.
- Toggle Touch Screen: Look for the option labeled ‘Touchscreen’ (or similar). You will see a toggle switch to enable or disable the touch screen capability. Click on it to make your selection.
- Test the Functionality: After toggling the touch screen feature, make sure to test it out. Open any application to ensure the touch functionality is working as intended.
By following these simple steps, you will have the ability to manage the touch screen feature on your Chromebook easily. Whether you wish to troubleshoot an issue or customize your working environment, having control over your device’s settings is empowering and practical.
More Chromebook Tutorials:
 Subscribe Now! 🙂
Discover more from Gauging Gadgets
Subscribe to get the latest posts sent to your email.